Simple Hard Tack Recipe for Long-Term Survival
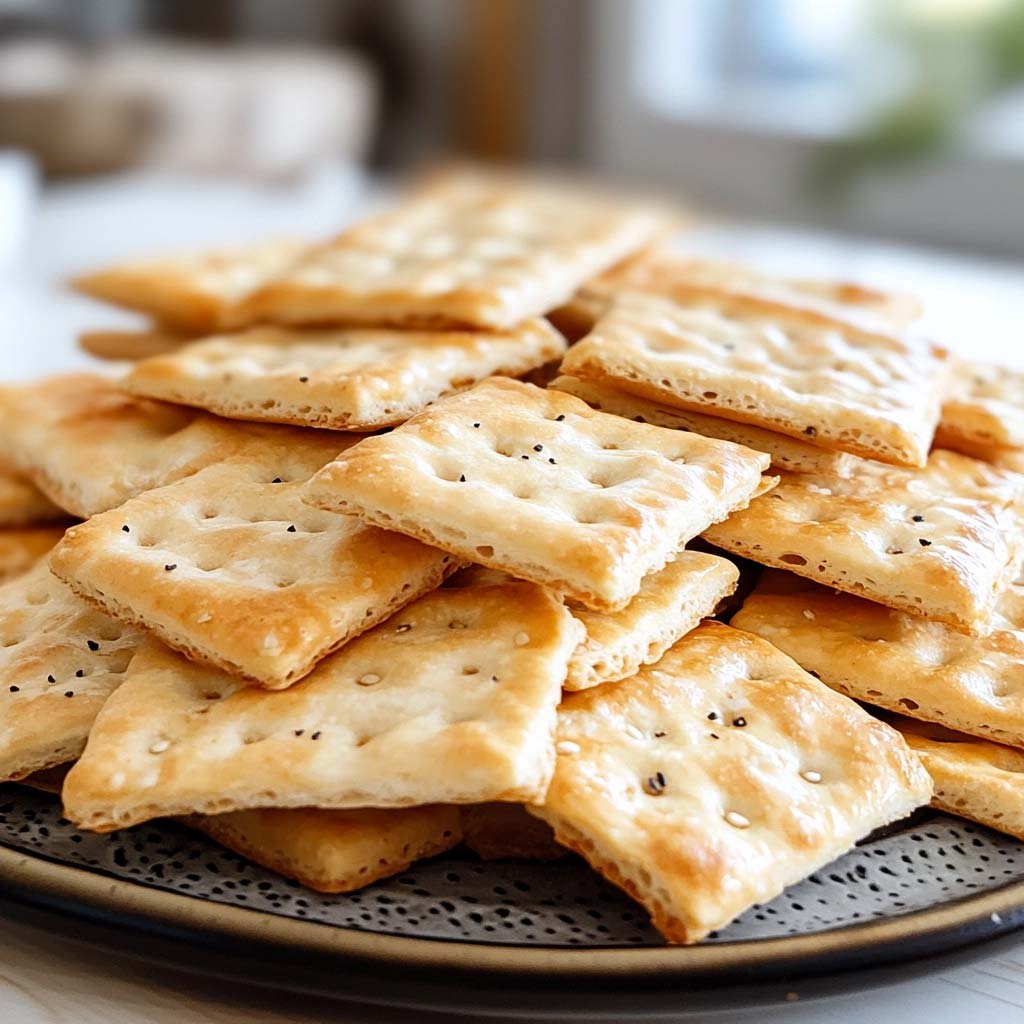
Hard tack is one of those classic survival foods that has stood the test of time, and for good reason. It’s incredibly easy to make, stores well, and can last for months (even years!) when stored properly.
When I first tried this recipe, I wanted something simple yet versatile, a food that my family could rely on during camping trips or emergency situations. Not only did my family appreciate the practicality of hard tack, but we also found it surprisingly enjoyable when paired with soups or even topped with a little jam. This recipe is one that has become a go-to in my kitchen for its reliability, ease, and utility.
Whether you’re a prepper or just curious, I think you’ll find this hard tack recipe to be indispensable!
Questions I Often Get Asked About This Recipe
Q: What is hard tack exactly?
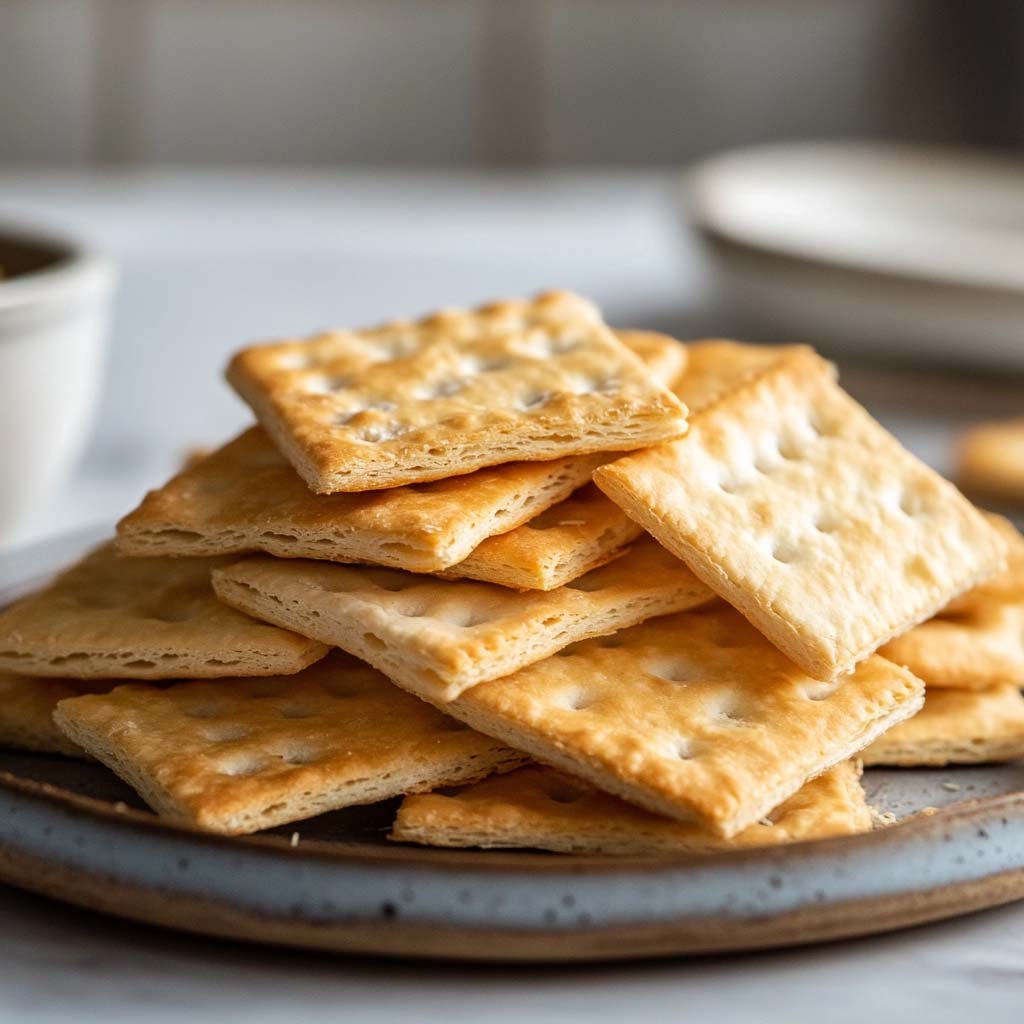
A: Hard tack is a simple type of cracker made from flour, water, and salt. It’s known for its long shelf life and was often used by sailors and soldiers as a staple food during long journeys.
Q: How long does hard tack last?
A: If stored in a cool, dry place in an airtight container, hard tack can last for months or even years. It’s a survival food, so longevity is one of its key benefits.
Q: Can I add anything to the recipe to make it more flavorful?
A: While traditional hard tack is made plain for preservation purposes, some people like to add herbs or spices. Just be mindful that additional ingredients may affect the shelf life.
Q: How do I eat hard tack?
A: Hard tack is very hard, so it’s best to soften it by soaking it in water, soup, or another liquid before eating. You can also crush it and use it as a thickening agent in stews.
Q: Is hard tack gluten-free?
A: Unfortunately, no. Traditional hard tack is made from wheat flour, but you could experiment with gluten-free flours, keeping in mind that results may vary.
What You Need to Make Hard Tack for Survival

To make this simple, durable food, you only need a few ingredients:
3 cups of all-purpose flour
1 cup of water
2 teaspoons of salt
That’s it! With just these three ingredients, you’ll be well on your way to making a survival staple that’s been trusted for centuries.
How to Make Hard Tack for Survival
Preheat your oven to 375°F (190°C).
Combine the flour and salt in a large mixing bowl.
Add the water slowly, mixing as you go until a dough forms. It should be firm and not sticky.
Roll out the dough to about 1/2 inch thick.
Cut the dough into squares or rectangles, roughly 3×3 inches.
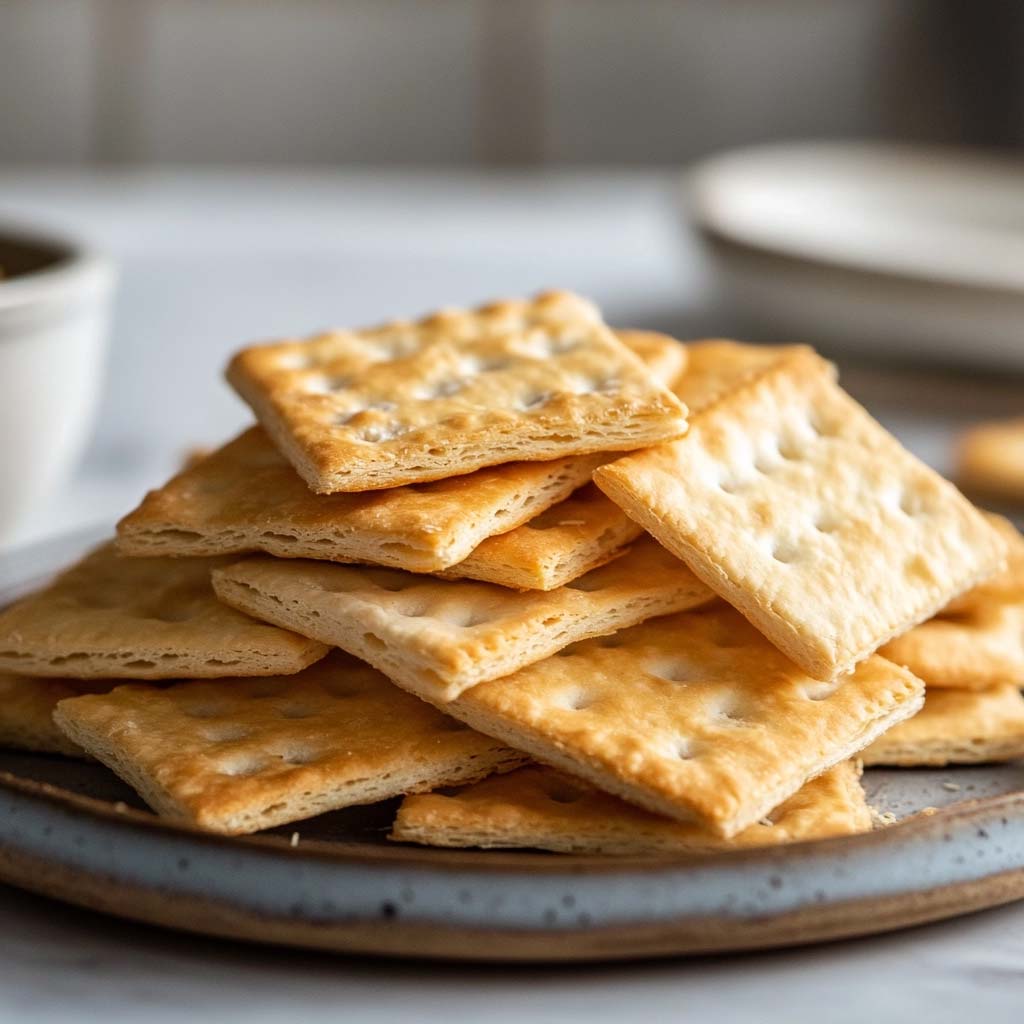
Poke holes into each square using a fork or skewer. This will help the hard tack cook evenly.
Place the pieces on an ungreased baking sheet and bake for 30 minutes.
Turn the hard tack over and bake for another 30 minutes until it’s dry and hard.
Allow the hard tack to cool completely before storing in an airtight container.
Tips for Making Hard Tack
Roll the dough evenly: Keeping the dough at a consistent thickness ensures that your hard tack will bake evenly.
Check for doneness: Hard tack should be dry and hard when it comes out of the oven. If it’s soft, give it a few more minutes.
Storage matters: Store your hard tack in an airtight container in a cool, dry place. If you want extra longevity, consider vacuum sealing it.
Reader Reviews

Cathy S. – “I made this hard tack recipe for our family camping trip, and it was a hit! We ate it with soup, and the kids even enjoyed dipping it in honey.”
John P. – “I’m a prepper, and this recipe is perfect for my needs. It’s easy to make and lasts forever when stored right. Definitely recommend!”
Amy L. – “The hard tack turned out great, but it was a bit bland for my taste. I added some rosemary, and it gave it a nice flavor.”
Mike D. – “Super simple and effective. I keep a batch of hard tack in my emergency kit, and this recipe is my go-to.”
Sara W. – “It came out exactly as described. Hard, yes, but that’s the point! Soaked it in stew, and it was perfect.”
Printable recipe


Simple Hard Tack Recipe for Long-Term Survival
This easy hard tack recipe is a must-have for survival enthusiasts! With just three simple ingredients, you can create a long-lasting food staple that has been relied on for centuries.
Ingredients
- 3 cups of all-purpose flour
- 1 cup of water
- 2 teaspoons of salt
Instructions
Preheat your oven to 375°F (190°C).
Combine the flour and salt in a large mixing bowl.
Add the water slowly, mixing as you go until a dough forms. It should be firm and not sticky.
Roll out the dough to about 1/2 inch thick.
Cut the dough into squares or rectangles, roughly 3x3 inches.
Poke holes into each square using a fork or skewer. This will help the hard tack cook evenly.
Place the pieces on an ungreased baking sheet and bake for 30 minutes.
Turn the hard tack over and bake for another 30 minutes until it’s dry and hard.
Allow the hard tack to cool completely before storing in an airtight container.
Notes
Check out some of our other recipes / crafts.
Save Your Bacon Grease: 9 Surprising Uses You’ll Love
Make Delicious Ice Cream in a Bag in Just 15 Minutes
If You Enjoyed This Recipe, Please Share!
If you found this Hard Tack for Survival recipe helpful, I’d love for you to share it with your friends and family! Whether you’re prepping for an emergency or just curious about survival foods, this recipe is a great addition to anyone’s collection. Share it on Facebook, Pinterest, or wherever you connect with others who love practical, long-lasting recipes. Plus, if you do try this out, let me know how it turned out in the comments below! I love hearing from my readers and seeing your versions of this classic survival food.
