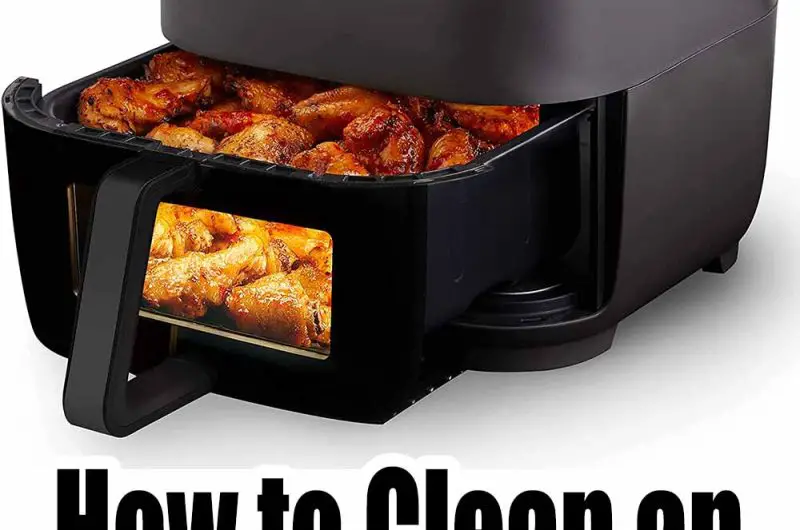
How to clean an air fryer the easy way

Air fryers have become increasingly popular in recent years due to their ability to cook crispy and delicious foods without the need for excessive amounts of oil. However, like any kitchen appliance, air fryers require regular cleaning to maintain their performance and prevent the buildup of grease and residue.
Cleaning an air fryer is relatively straightforward, but it is important to follow the manufacturer’s instructions to ensure that you do not damage any of the appliance’s components. Here is a step-by-step guide to cleaning an air fryer:
Step 1
Step 1 of cleaning an air fryer is an important step that should not be skipped. It is essential to unplug the air fryer from the power source and wait for it to cool down before starting the cleaning process. This is because the air fryer gets very hot during use and can cause serious burns if it is not allowed to cool down.
The cooling down process can take anywhere from 15-30 minutes, depending on the make and model of the air fryer. It is best to wait until the air fryer is completely cool to the touch before attempting to clean it.
It is also important to note that the air fryer should never be immersed in water or any other liquid. This can cause damage to the electrical components and render the appliance unusable. Therefore, it is important to take precautions and ensure that the air fryer is unplugged and cooled down before attempting to clean it.
Step 2
Step 2 of cleaning an air fryer involves removing the basket and any accessories from the air fryer. This step is important to ensure that all parts of the air fryer are cleaned thoroughly and that no food residue is left behind.
Most air fryer baskets have a non-stick coating to prevent food from sticking and to make cleaning easier. However, this coating can be easily damaged by abrasive sponges or cleaning agents, so it is important to use a soft sponge or cloth when cleaning the basket and accessories.
If the basket or accessories are particularly dirty, you can soak them in warm soapy water for a few minutes before cleaning them. However, you should avoid leaving them to soak for too long, as this can damage the non-stick coating.
It is also important to inspect the basket and accessories for any damage, such as cracks or chips. If you notice any damage, you should contact the manufacturer or retailer for a replacement before using the air fryer again.
Once the basket and accessories are removed, you can start cleaning them with warm water and a mild detergent. It is important to rinse them thoroughly to ensure that no soap residue is left behind.
Step 3
Step 3 of cleaning an air fryer involves washing the basket and accessories with warm water and a mild detergent. This step is important to remove any food residue or grease that may have accumulated during cooking.
When washing the basket and accessories, it is important to use a non-abrasive sponge or cloth to avoid damaging the non-stick coating. Avoid using harsh cleaning agents or scouring pads that can scratch the surface of the basket and accessories.
If there is any stubborn residue or grease that is difficult to remove, you can use a soft-bristled brush to clean hard-to-reach areas. Be sure to rinse the basket and accessories thoroughly to remove any soap residue.
It is also important to note that some air fryer baskets and accessories are dishwasher safe. Check the manufacturer’s instructions to see if your basket and accessories can be washed in the dishwasher. If they can be washed in the dishwasher, be sure to place them in the top rack to avoid damage from the high heat of the dishwasher.
Step 4
Step 4 of cleaning an air fryer involves cleaning the exterior of the appliance. This step is important to remove any food residue, grease, or fingerprints that may have accumulated on the outside of the air fryer.
When cleaning the exterior of the air fryer, use a damp cloth or sponge and a mild detergent to wipe down the surface. Avoid using abrasive sponges or harsh cleaning agents that can damage the surface or the control panel.
It is also important to pay attention to the air vents on the back of the air fryer. Use a soft-bristled brush to clean out any dust or debris that may have accumulated in the vents. This is important to ensure proper ventilation and prevent overheating of the appliance.
If there are any stubborn stains or marks on the exterior of the air fryer, you can use a small amount of baking soda mixed with water to make a paste. Apply the paste to the affected area and let it sit for a few minutes before wiping it away with a damp cloth.
Once you have cleaned the exterior of the air fryer, be sure to dry it thoroughly with a clean cloth to prevent any water from seeping into the electrical components.
Step 5
Step 5 of cleaning an air fryer involves reassembling the basket and accessories and storing the air fryer in a clean and dry place. This step is important to ensure that the air fryer is ready for its next use and that it remains in good working condition.
When reassembling the basket and accessories, be sure to dry them thoroughly to prevent any water from getting inside the air fryer. Check that all parts are securely in place before using the air fryer again.
After reassembling the air fryer, store it in a clean and dry place. Avoid storing it in a humid or damp area as this can cause damage to the electrical components. It is also important to store the air fryer with the basket and accessories in place to prevent them from getting lost or damaged.
Lastly, it is recommended to clean the air fryer after every use to prevent the buildup of food residue or grease that can affect its performance. Regular cleaning also helps to extend the life of the appliance and ensures that it continues to function properly.
Step 6
Step 6 of cleaning an air fryer involves cleaning the heating element. This step is important to ensure that the air fryer continues to function properly and that there is no buildup of food residue or grease that can affect its performance.
To clean the heating element, use a soft-bristled brush or a cloth to gently clean the surface of the element. Be careful not to use any abrasive cleaning agents or sponges that can damage the element.
If there is any stubborn residue or grease that is difficult to remove, you can use a small amount of baking soda mixed with water to make a paste. Apply the paste to the affected area and let it sit for a few minutes before wiping it away with a damp cloth.
It is important to note that the heating element is a sensitive part of the air fryer and should be cleaned carefully to prevent damage. Avoid using excessive force or harsh cleaning agents that can damage the element.
Step 7
Step 7 of cleaning an air fryer involves performing regular maintenance checks to ensure that the appliance is in good working condition. This step is important to prevent any malfunctions or safety hazards and to ensure that the air fryer continues to function properly over time.
To perform regular maintenance checks, inspect the cord and plug of the air fryer for any signs of wear or damage. If there is any damage, do not use the air fryer and contact the manufacturer for a replacement.
It is also important to check the air fryer for any cracks or damage to the basket or accessories. Damaged parts should be replaced immediately to prevent any safety hazards or damage to the appliance.
Lastly, it is recommended to refer to the manufacturer’s instructions for any additional maintenance checks or cleaning procedures. Some air fryers may require periodic cleaning of the fan or other components to ensure proper ventilation and prevent overheating.
Performing regular maintenance checks is an important step in ensuring the longevity and safety of the air fryer. By keeping the appliance clean and well-maintained, you can enjoy delicious and healthy meals for years to come.
Step 8
Step 8 of cleaning an air fryer involves properly disposing of any waste generated during the cleaning process. This step is important to ensure that waste is disposed of in an environmentally-friendly manner and to prevent any safety hazards or health risks.
When disposing of waste, be sure to separate recyclable and non-recyclable materials. Check with your local recycling program to see which materials can be recycled in your area. Common recyclable materials that may be generated during the cleaning process include cardboard packaging, plastic wrapping, and aluminum foil.
Non-recyclable waste, such as paper towels used for cleaning, should be disposed of in the trash. Be sure to use a trash can with a secure lid to prevent any animals or pests from accessing the waste.
If there are any hazardous materials, such as cleaning agents or batteries, check with your local hazardous waste program for proper disposal procedures. These materials should never be disposed of in the trash or recycling bin.

More interesting articles you may be interested in reading:
Fluffy Miniature Cows Are SO CUTE and They Make GREAT PETS.
20 Ways to Deter Rabbits from Eating Your Garden
How To Get Rid Of Wasps With Just A Brown Paper Bag
How To Get Rid Of Any Burrowing Animals With This Dawn Soap Solution
Thanks for reading and be sure to share this info with your friends using the social share buttons below.
Talking about social stuff, consider liking our Facebook page to keep up to date with our articles. Check out our other articles for more mental scoops!


