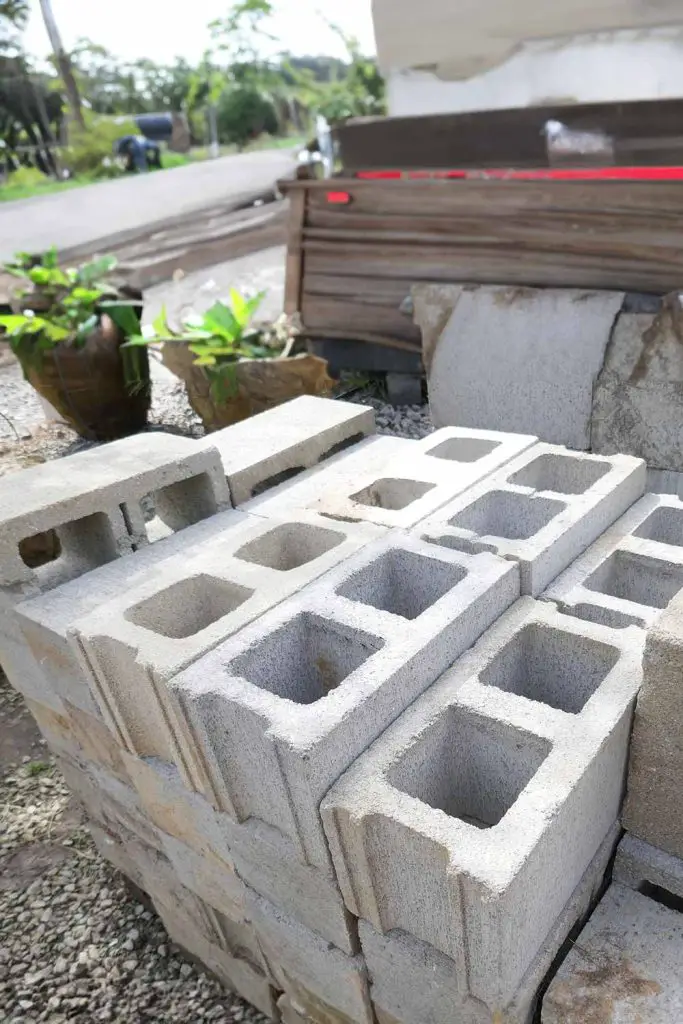
DIY Cinder Block Stove: Build Your Own Outdoor Cooking Powerhouse!

When it comes to outdoor cooking, a cinder block stove is one of the most versatile and budget-friendly options you can create yourself. Whether you’re camping, preparing for an emergency, or just want to enjoy a rustic outdoor cooking experience, this DIY project is perfect for both beginners and seasoned builders alike.
In this guide, we’ll take you step-by-step through the process of building your own cinder block stove. Let’s get started!
Why Choose a Cinder Block Stove?
Cinder block stoves offer a host of advantages that make them an ideal choice for outdoor cooking. First, they are incredibly cost-effective. Cinder blocks are affordable and widely available at most hardware stores.
Second, these stoves are durable and can withstand high temperatures, making them perfect for repeated use. Additionally, they are easy to build, customizable to your cooking needs, and require minimal maintenance. Whether you’re grilling, boiling, or frying, a cinder block stove can handle it all.
Gathering Your Materials: What You’ll Need
Before you start building, it’s essential to gather all the materials you’ll need. For this project, you’ll need:
- Cinder blocks (at least 6, but the number can vary based on your design)
- Grill grate (a metal grate that can fit on top of the stove)
- Fire bricks (optional, for better heat retention)
- Kindling and firewood (for fuel)
- Metal tongs and gloves (for safety)
These materials are easily accessible and can be found at your local hardware store or online.
Choosing the Perfect Location
Selecting the right location for your cinder block stove is crucial. Look for a flat, stable surface that’s away from any flammable materials, like dry grass or overhanging trees. Your stove should be at least 10 feet away from your home, fence, or any other structures.
If possible, place the stove on bare earth or a gravel bed, which will help to contain any stray embers and reduce the risk of fire spreading.
Building the Base: Setting the Foundation
The base of your cinder block stove is the foundation of your outdoor cooking setup, so it needs to be sturdy and well-constructed. Begin by placing two cinder blocks side by side, leaving enough space between them for air to flow through.
This airflow is critical for keeping your fire burning steadily. If you want a larger cooking surface, you can add additional cinder blocks in the same configuration. Ensure the blocks are level and stable before moving on to the next step.
Stacking the Blocks: Creating the Stove Structure
With your base in place, it’s time to build the walls of your stove. Stack two more cinder blocks on top of the base blocks, but this time, rotate them so that the openings of the blocks are facing up. This creates a chimney effect that will draw air through the stove, feeding the fire.
If you’re using fire bricks, place them inside the openings to enhance heat retention. You can stack more blocks if you want a taller stove, but a two-level structure is usually sufficient for most cooking tasks.
Adding the Grill Grate: Your Cooking Surface
Now that your stove structure is complete, it’s time to add the grill grate. The grate should rest securely on the top layer of cinder blocks. If your grate is slightly larger than the opening, you can place it directly on top; if it’s smaller, you may need to use additional blocks or fire bricks to support it.
This surface is where you’ll place your pots, pans, or directly cook food. Make sure the grate is stable and can handle the weight of whatever you plan to cook.
Lighting the Fire: Tips for a Successful Burn
Starting a fire in your cinder block stove is simple but requires some attention to detail. Begin by placing small pieces of kindling in the bottom openings of the cinder blocks. Light the kindling using a match or lighter, and once it catches, slowly add larger pieces of firewood.
The chimney effect created by the cinder blocks will help draw air into the fire, ensuring a steady burn. Keep the firewood dry and well-seasoned for the best results.
Cooking with Your Cinder Block Stove: Recipes and Techniques
Your cinder block stove is now ready for action! From grilling burgers to boiling water for coffee, the cooking possibilities are endless. For grilling, place your food directly on the grate and use the firewood to control the heat.
For boiling or frying, use sturdy pots and pans that can withstand direct heat. Consider trying some campfire favorites like grilled vegetables, foil-wrapped potatoes, or even homemade pizza. Experiment with different recipes to discover what works best for your setup.
Maintenance and Safety: Keeping Your Stove in Top Shape
To ensure your cinder block stove lasts for many cooking sessions, regular maintenance is key. After each use, allow the stove to cool completely before cleaning out ash and debris. Check the stability of the blocks and make any necessary adjustments.
Always store your firewood in a dry place and keep a fire extinguisher or a bucket of water nearby for safety. With proper care, your cinder block stove will remain a reliable outdoor cooking powerhouse for years to come.
Building your own cinder block stove is not only a fun and rewarding project, but it also provides a practical and efficient way to cook outdoors.
Whether you’re an outdoor enthusiast or simply looking to try something new, this DIY stove will elevate your cooking game and make your outdoor adventures even more enjoyable. Happy building and bon appétit!

More interesting articles you may be interested in reading:

