How To Crochet Your Own Daisy Display – Free Pattern!

Are you ready to add a splash of springtime charm to your home decor? Crocheting your own daisy display is a delightful and rewarding project that’s perfect for both beginners and seasoned crocheters.
With this free pattern, you can create a beautiful bouquet of crocheted daisies to brighten up any space. Let’s dive into the world of crochet and craft a stunning daisy display together!
Why Crochet Daisies?

Daisies symbolize purity, innocence, and new beginnings, making them a wonderful addition to your home. Crocheting daisies allows you to enjoy these cheerful flowers all year round. Plus, it’s a relaxing and creative way to spend your time.
You can use these crocheted daisies in various ways – as wall art, table centerpieces, or even as embellishments for bags and clothing.
Materials You’ll Need
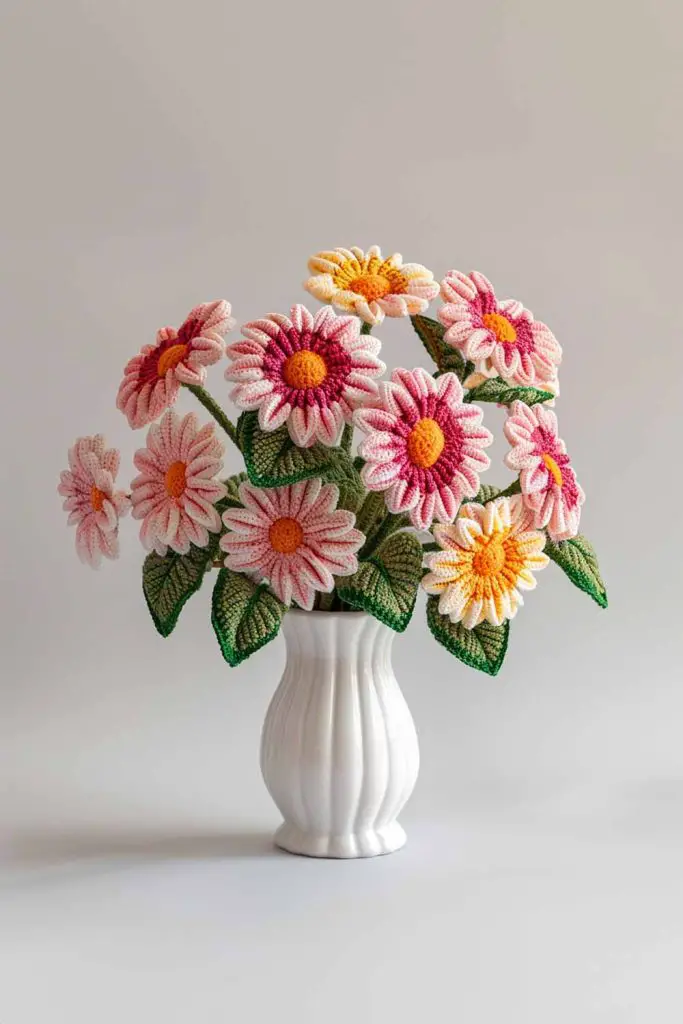
Before we start, gather the following materials:
- Yarn: Choose worsted weight yarn in white for the petals and yellow for the center. You can also use green yarn if you want to add leaves and stems.
- Crochet Hook: Size G/4.0 mm hook.
- Scissors: For cutting yarn.
- Tapestry Needle: For weaving in ends.
- Stitch Markers: Optional, but helpful for keeping track of rounds.
Basic Stitches and Abbreviations

Here are the basic stitches and abbreviations used in this pattern:
- Ch: Chain
- Sl st: Slip stitch
- Sc: Single crochet
- Dc: Double crochet
- Hdc: Half double crochet
- Rnd: Round
- St: Stitch
Daisy Pattern
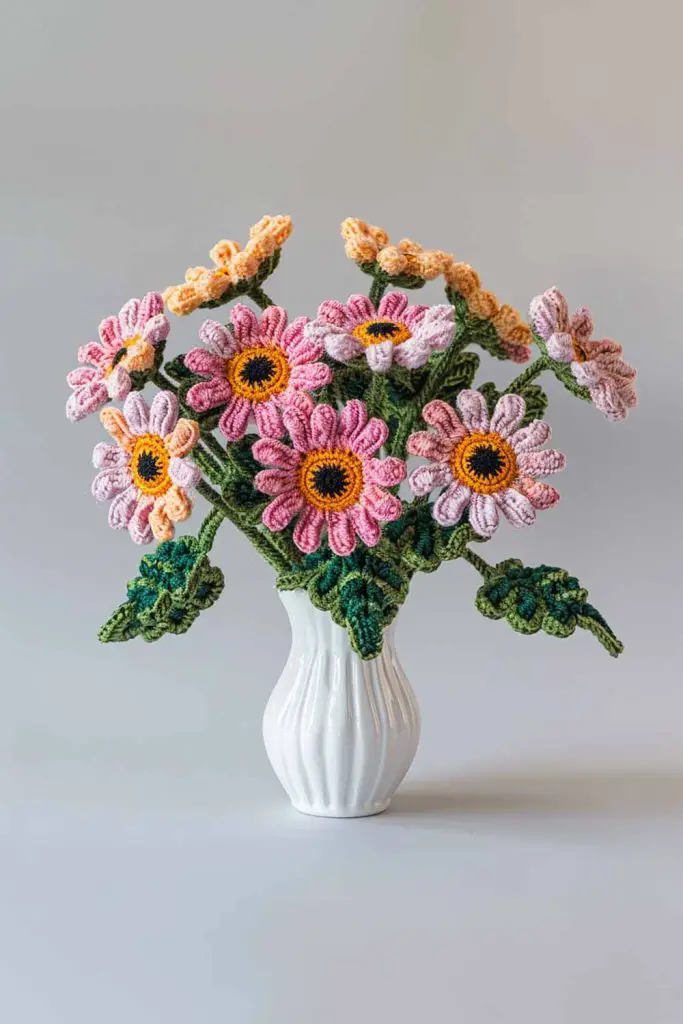
Step 1: Crocheting the Daisy Center
- Start with a Magic Ring: Create a magic ring with yellow yarn.
- Rnd 1: Ch 1, work 6 sc into the ring. Pull the ring tight and join with a sl st to the first sc. (6 sts)
- Rnd 2: Ch 1, 2 sc in each st around. Join with a sl st to the first sc. (12 sts)
- Fasten Off: Cut the yarn, leaving a long tail for sewing, and fasten off.
Step 2: Crocheting the Daisy Petals
- Attach White Yarn: Join the white yarn to any st of the center with a sl st.
- Rnd 1: Ch 2 (counts as 1 hdc), 1 hdc in the same st, ch 2, sl st in the same st. This creates your first petal.
- Repeat for Each Petal: Sl st in the next st, ch 2, 2 hdc in the same st, ch 2, sl st in the same st. Repeat from * to * around until you have 12 petals.
- Finish the Petals: Sl st to the base of the first petal and fasten off. Weave in the ends.
Step 3: Optional Leaves and Stem
- Leaf: With green yarn, ch 9.
- Rnd 1: Starting in the 2nd ch from the hook, sc, hdc, 2 dc, hdc, sc, sl st, sc, hdc, 2 dc, hdc, sc, sl st. Fasten off and weave in the ends.
- Stem: Ch 20 (or desired length). Fasten off and weave in the ends.
Assembling the Daisy Display
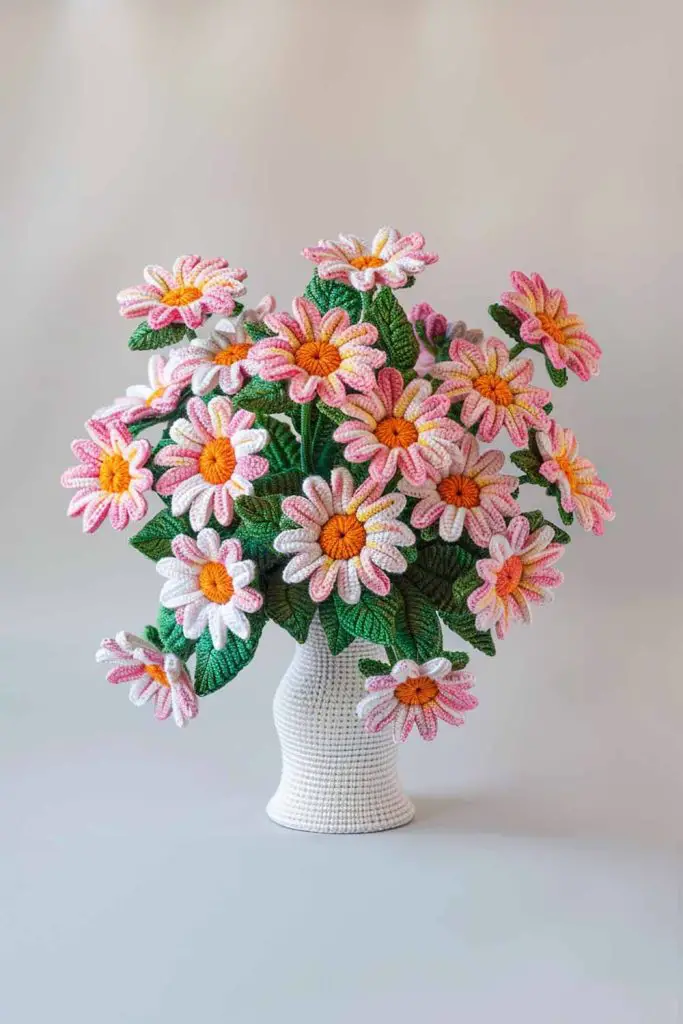
- Shape the Daisies: Gently shape each petal with your fingers to give them a natural look.
- Attach the Leaves: Sew the leaves to the base of the daisy or to the stem using the long tails.
- Create a Bouquet: If you want a bouquet, crochet multiple daisies and stems. Arrange them together and tie with a ribbon or place them in a vase.
Display Ideas
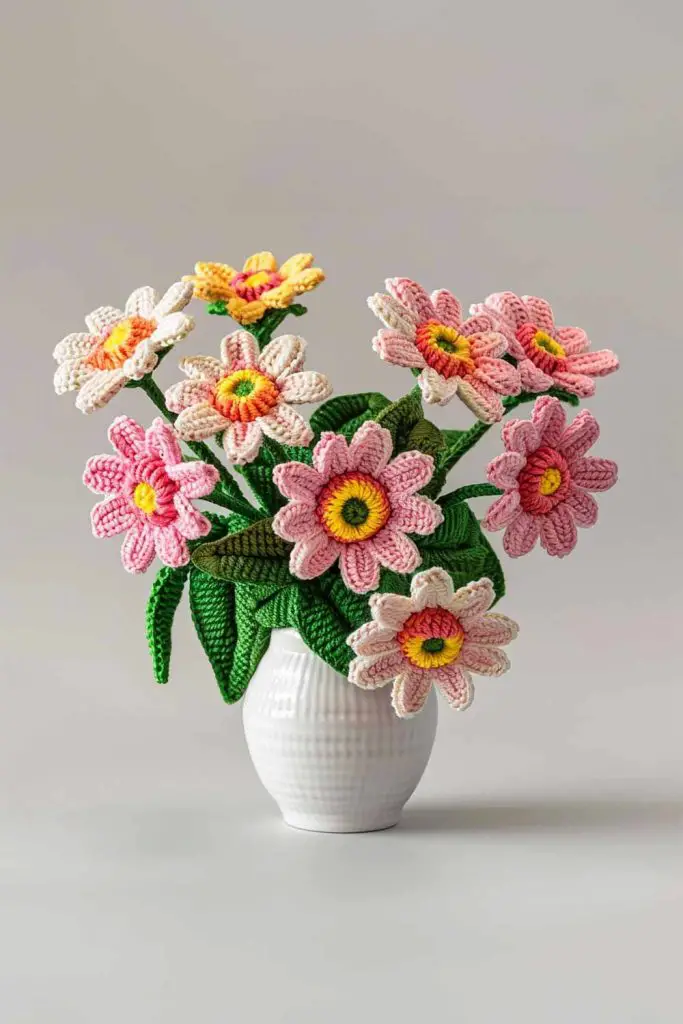
- Wall Art: Attach the daisies to a canvas or wooden board using a hot glue gun.
- Table Centerpiece: Place your crocheted daisy bouquet in a mason jar or small vase.
- Gift Decoration: Use individual daisies to adorn wrapped gifts for a personalized touch.
- Accessorize: Sew daisies onto bags, hats, or clothing for a whimsical embellishment.
Tips and Tricks

- Experiment with Colors: Don’t be afraid to use different colors for your daisies. Try pastel shades for a soft look or vibrant colors for a bold statement.
- Yarn Choice: Use cotton yarn for a sturdy, washable daisy or opt for acrylic yarn for a soft and fluffy finish.
- Petal Size Variation: Adjust the size of your petals by using more or fewer stitches. For larger petals, use dc or tr stitches.
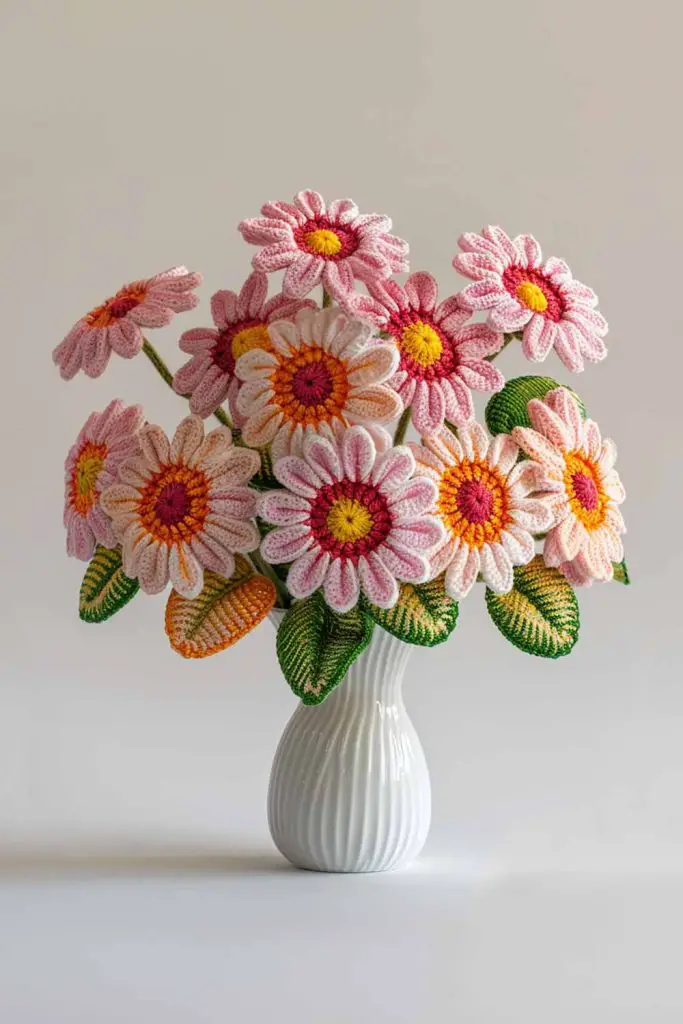
Crocheting your own daisy display is a fantastic way to bring a touch of handmade beauty into your home. Whether you’re new to crochet or have been crafting for years, this project is sure to bring joy and a sense of accomplishment. Follow this free pattern, let your creativity bloom, and enjoy the cheerful charm of your crocheted daisies. Happy crocheting!
Share Your Creations! We’d love to see your beautiful daisy displays. Share your photos on social media
More interesting articles you may be interested in reading:

