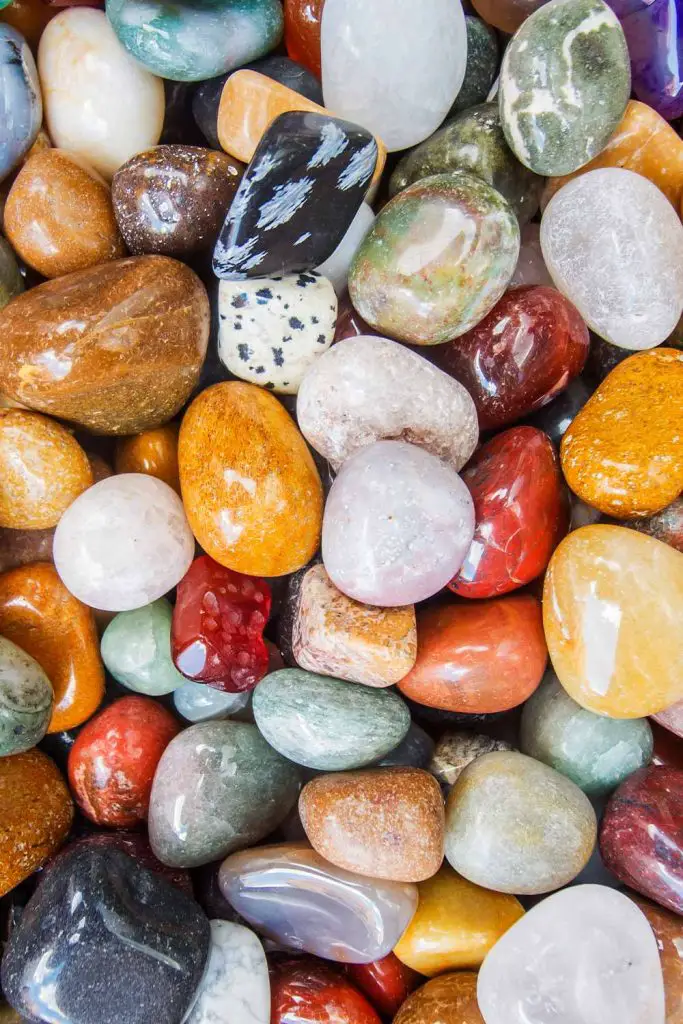
How To Hand Polish Rocks! A Great Activity Kids!

The allure of polished rocks is undeniable. Their smooth surfaces and vibrant colors can transform ordinary stones into stunning pieces of natural art. While there are various methods for polishing rocks, one of the most rewarding approaches is hand polishing.
Not only does hand polishing allow for greater control and precision, but it also offers a deeply immersive experience that connects you with the raw beauty of the stones.
Choosing the Right Rocks for Polishing
Before diving into the world of rock polishing, it’s essential to select the right rocks for the job. Look for stones with interesting textures, patterns, and colors. Common choices include quartz, agate, jasper, and obsidian.
Keep in mind that softer rocks will be easier to polish, while harder rocks may require more time and effort.
Essential Tools and Materials
To hand polish rocks effectively, you’ll need a few key tools and materials. These include:
- Sandpaper or sanding pads in various grits (ranging from coarse to fine)
- Polishing compounds or powders
- Polishing cloths or pads
- Water
- Safety goggles and gloves (optional but recommended)
Preparing Your Workspace
Before you begin polishing, set up a dedicated workspace where you can work comfortably and safely. Lay down a protective covering to catch any debris or spills, and ensure adequate ventilation in the area.
Gather all your tools and materials within easy reach, and make sure you have plenty of light to see your work clearly.
Step-by-Step Guide to Hand Polishing Rocks
Now, let’s dive into the hand polishing process:
- Inspect and Clean the Rocks: Start by examining your rocks for any cracks, chips, or imperfections. Clean them thoroughly with soap and water to remove any dirt or debris.
- Initial Sanding: Begin the polishing process by sanding the rocks with coarse-grit sandpaper. This will help smooth out any rough spots and prepare the surface for finer polishing.
- Progressive Polishing: Gradually work your way through finer grits of sandpaper, repeating the sanding process with each one. As you progress, you’ll notice the rocks becoming smoother and more polished.
- Final Polishing: Once you’ve achieved the desired level of smoothness, it’s time to give the rocks a final polish. Apply a small amount of polishing compound or powder to a soft cloth or pad, and rub it onto the surface of the rocks in a circular motion.
- Buffing: For an extra shine, buff the polished rocks with a clean, dry cloth or pad. This will help remove any excess polish and bring out the natural luster of the stones.
Tips and Techniques for Achieving Stunning Results
- Take your time and work slowly, especially when transitioning between grits of sandpaper.
- Keep the rocks and sandpaper wet during the polishing process to prevent overheating and ensure a smoother finish.
- Experiment with different polishing compounds and techniques to achieve the desired level of shine and luster.
- Don’t be afraid to get creative! Try mixing different types of rocks and polishing them together to create unique patterns and designs.
Common Mistakes to Avoid
- Using too much pressure while sanding, which can damage the rocks and result in uneven polishing.
- Skipping grits of sandpaper, which can lead to a less polished finish.
- Neglecting to clean the rocks between sanding stages, which can result in a muddy or uneven polish.
- Overlooking safety precautions, such as wearing goggles and gloves to protect yourself from flying debris and sharp edges.
Adding Finishing Touches
Once you’ve finished polishing your rocks, consider displaying them in a decorative bowl or arranging them in a glass vase. You can also incorporate them into jewelry, crafts, or other DIY projects for a personal touch.
Preserving Your Polished Treasures
To keep your polished rocks looking their best, store them in a dry, cool place away from direct sunlight. Avoid exposing them to harsh chemicals or abrasive materials, as this can dull their shine over time.
With proper care and maintenance, your hand-polished rocks will remain beautiful and vibrant for years to come.
Hand polishing rocks is a rewarding hobby that allows you to unleash your creativity and connect with the natural world. By following these tips and techniques, you can master the art of rock polishing and create stunning works of art that will be admired for generations.
So go ahead, gather your supplies, and embark on your own rock polishing adventure today!

More interesting articles you may be interested in reading:

