How To Make Your Own $10 Compost Bin & Why You Need One!

Composting is a fantastic way to reduce waste, save money, and create nutrient-rich soil for your garden. If you’re looking to make a budget-friendly compost bin, you’re in the right place. In this article, we’ll show you how to build a $10 compost bin, along with the reasons why you should start composting today.
The Benefits of Composting
Composting offers a range of benefits for both you and the environment. It reduces waste in landfills, lowers methane emissions, and enriches soil. By composting, you can create a sustainable cycle that improves the health of your garden and reduces your carbon footprint.
Choosing the Right Location for Your Compost Bin
Before you build your compost bin, you need to find the ideal location. Look for a spot in your backyard that’s convenient but not too close to your house to avoid odors. Make sure it’s on level ground and has good drainage to prevent waterlogging.
Ideally, the location should receive some sunlight to help with the decomposition process.
Materials You’ll Need for a $10 Compost Bin
To create a budget-friendly compost bin, you need basic materials that won’t break the bank. Here’s a list of what you’ll need:
- A 32-gallon plastic garbage bin with a tight-fitting lid (usually priced around $10)
- A drill with a 1/4-inch drill bit
- A marker or pen
- A ruler or measuring tape
Drilling Ventilation Holes
The key to a successful compost bin is proper airflow. Use your ruler and marker to mark evenly spaced points around the garbage bin. You’ll want to drill holes on the sides, bottom, and lid.
Aim for about 10 holes on the sides, 6 on the bottom, and 6 on the lid. These holes allow air to circulate, aiding the decomposition process.
Assembling the Compost Bin
Once you’ve drilled the ventilation holes, place the bin in your chosen location. Ensure the lid fits snugly to keep out pests and retain moisture. If you live in an area with strong winds, consider securing the bin with bungee cords or placing a heavy object on top to keep it in place.
What to Add to Your Compost Bin
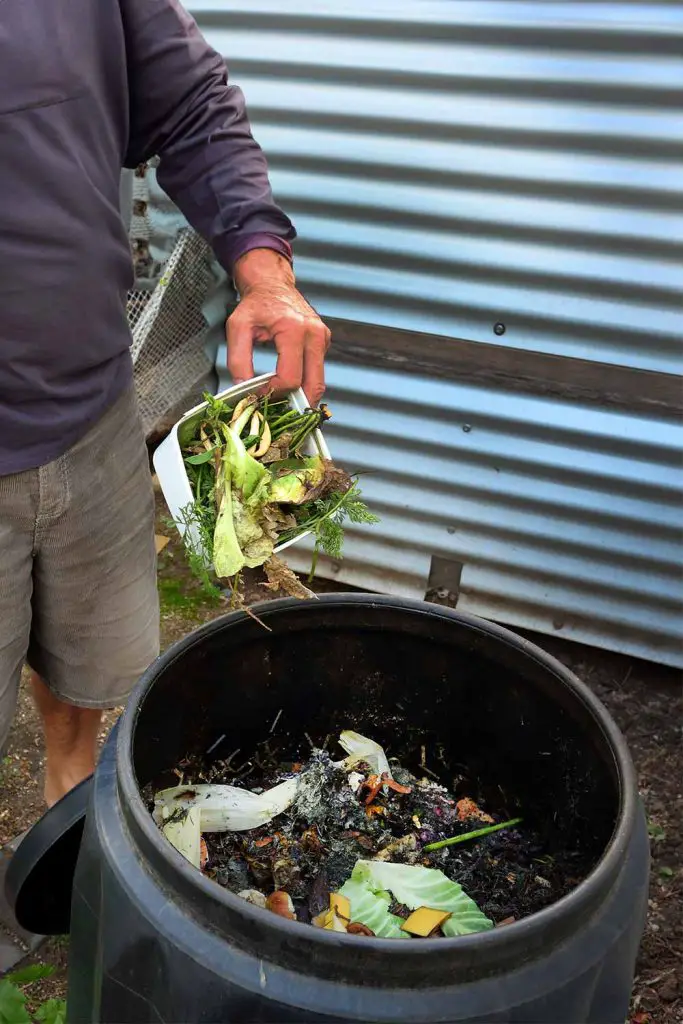
Composting involves a balance of “green” and “brown” materials. Greens are high in nitrogen, while browns are high in carbon. Some common green materials include fruit and vegetable scraps, coffee grounds, and grass clippings.
Brown materials include dried leaves, straw, and shredded paper. Aim for a ratio of 2:1 (browns to greens) for optimal composting.
Maintaining Your Compost Bin
To ensure your composting process runs smoothly, you’ll need to maintain your bin regularly. Turn the compost with a pitchfork or shovel every 1-2 weeks to promote aeration. Keep the compost moist, but not soggy. If it feels dry, add water. If it smells bad, add more brown materials and turn it more frequently.
Knowing When Your Compost Is Ready
Compost is ready when it’s dark, crumbly, and smells earthy. This process can take anywhere from a few weeks to several months, depending on the temperature, humidity, and materials used. Once it’s ready, you can use it to enrich your garden soil, helping your plants grow strong and healthy.
Why You Should Start Composting Today
Composting is a simple, cost-effective way to reduce waste and contribute to a more sustainable environment. By creating your own compost bin for just $10, you can start turning kitchen scraps into valuable compost for your garden.
It’s a small investment with a big impact. So, why wait? Build your compost bin today and start enjoying the benefits of composting!
With this detailed guide, you should be able to create your own compost bin and start composting with confidence. Happy composting!

More interesting articles you may be interested in reading:

