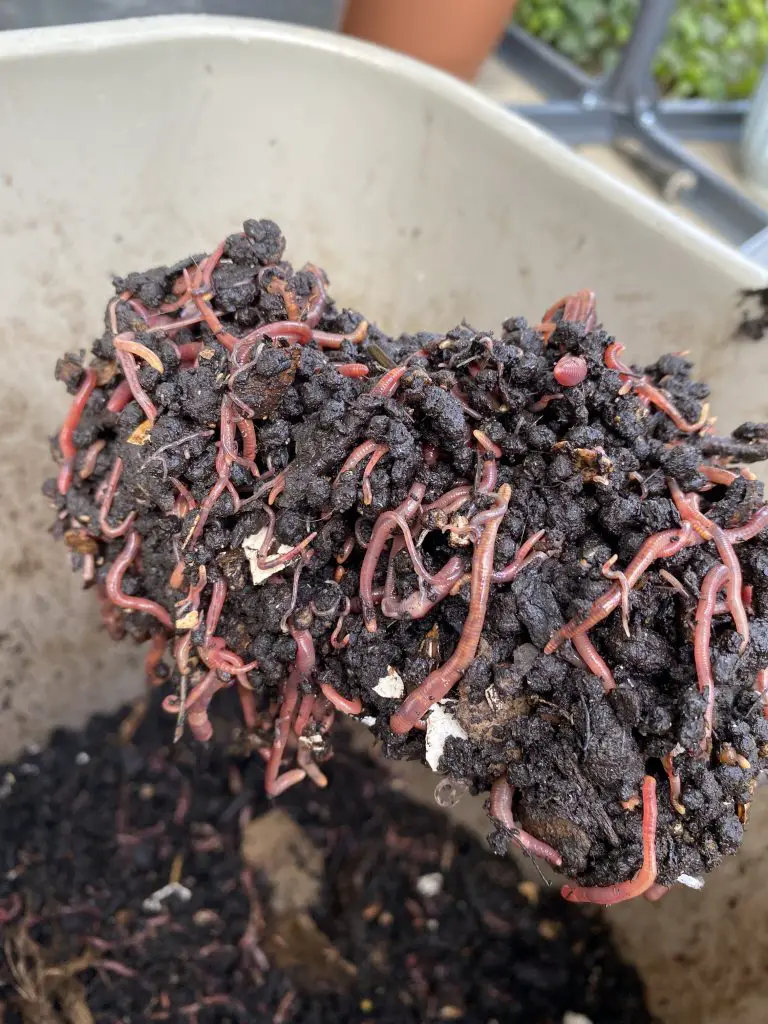
Worm bins are a great way to reduce food waste and produce nutrient-rich compost for your garden or houseplants. They are easy to make and maintain, and can be a fun and educational project for both kids and adults. In this article, we will discuss how to make your own worm bin and the benefits of having one.
Why do you need a worm bin?
Food waste is a significant problem worldwide. According to the United Nations, around one-third of all food produced globally is wasted, which is equivalent to 1.3 billion tons per year. This food waste contributes to greenhouse gas emissions, landfills, and environmental pollution. By using a worm bin, you can reduce the amount of food waste that goes to landfill and instead produce nutrient-rich compost for your plants.
Worm compost, also known as vermicompost, is an excellent soil amendment. It is rich in nutrients, including nitrogen, phosphorus, potassium, and magnesium, and has a neutral pH level. Vermicompost also improves soil structure, water retention, and aeration, making it an ideal addition to any garden or potted plant.
Making your own worm bin is a simple and cost-effective way to start composting with worms. It is also a great way to involve kids in learning about the environment and the importance of reducing waste.
How to make your own worm bin
Step 1: Choose a container
The first step in making a worm bin is to choose a suitable container. You can use a plastic bin or a wooden box, as long as it has a lid and is at least 8-10 inches deep. The container should be sturdy and have drainage holes in the bottom to allow excess liquid to escape.
Step 2: Prepare the bedding
The bedding is the material that the worms will live in and feed on. The best bedding materials are shredded newspaper, cardboard, or leaves. Avoid using glossy or colored paper, as these contain harmful chemicals that can harm the worms.
To prepare the bedding, tear the newspaper or cardboard into strips and soak them in water for about 30 minutes. Squeeze out the excess water and fluff up the strips to create a fluffy bedding.
Step 3: Add the worms
The best type of worm for composting is the red wiggler worm. You can purchase them online or at a local garden center. Add a handful of worms to the bedding and let them settle in for a few days before adding any food scraps.
Step 4: Add food scraps
Once the worms have settled in, you can start adding food scraps to the bin. The best food scraps to use are fruit and vegetable scraps, coffee grounds, tea bags, and eggshells. Avoid adding meat, dairy, or oily foods, as these can attract pests and cause bad odours.
Chop the food scraps into small pieces and bury them in the bedding. Be sure to cover the scraps with a layer of bedding to prevent fruit flies and other pests from getting in.
Step 5: Maintain the worm bin
To keep your worm bin healthy and productive, you will need to maintain it regularly. Here are some tips for maintaining your worm bin:
- Keep the bedding moist, but not wet. Spray the bedding with water once a week to keep it moist.
- Avoid overfeeding the worms. Add food scraps gradually and only when the previous scraps have been consumed.
- Check the bin for excess liquid. If there is a buildup of liquid in the bottom, remove some of the bedding to allow for better drainage.
- Harvest the compost. Once the bedding has turned into a dark, crumbly compost, you can harvest it by removing the top layer of bedding and collecting the compost from the bottom.
- Start a new batch. Once you have harvested the compost, you can start a new batch by adding fresh bedding and food scraps to the bin.
Benefits of having a worm bin
In addition to reducing food waste and producing nutrient-rich compost, there are many other benefits to having a worm bin. Here are some of the benefits:
- Saves money on fertilizer: Vermicompost is a natural fertilizer that is rich in nutrients, which can save you money on buying synthetic fertilizers.
- Reduces landfill waste: By composting food scraps with worms, you are diverting waste from the landfill, which reduces greenhouse gas emissions and helps to conserve landfill space.
- Improves soil health: Vermicompost improves soil structure, water retention, and aeration, which can help plants grow stronger and healthier.
- Teaches kids about the environment: Worm bins can be a fun and educational project for kids, teaching them about the environment and the importance of reducing waste.
- Easy to maintain: Worm bins are easy to maintain and require very little effort once they are set up. They are also odorless if maintained properly.

More interesting articles you may be interested in reading:

How To Remove A Tree Stump Painlessly
You Can Get Candy Cane Flowers That Will Get You In The Mood For The Holidays
Fluffy Miniature Cows Are SO CUTE and They Make GREAT PETS.
Thanks for reading and be sure to share this info with your friends using the social share buttons below.
Talking about social stuff, consider liking our Facebook page to keep up to date with our articles. Check out our other articles for more mental scoops!
