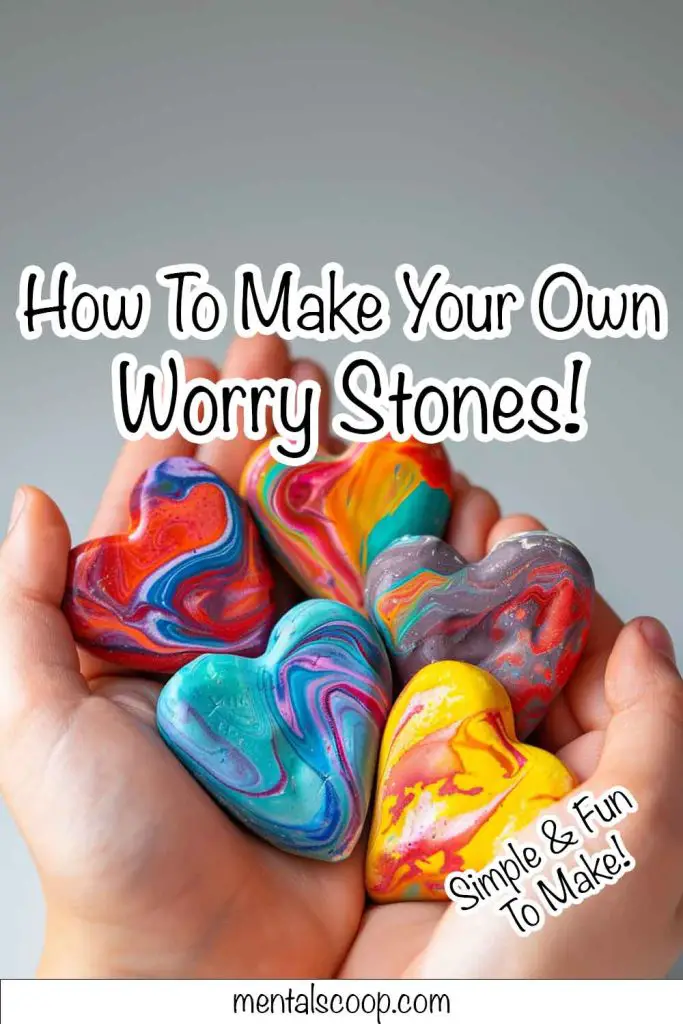
How To Make Your Own Worry Stones!

Welcome to the world of clay crafting, where you can transform humble materials into powerful tools for mindfulness and relaxation.
In this guide, we’ll explore the process of making your very own worry stones from clay—a creative endeavor that not only yields beautiful results but also provides a therapeutic outlet for self-expression and stress relief.
Understanding Worry Stones
Before we delve into the crafting process, let’s uncover the origins and significance of worry stones. Dating back to ancient Greece, worry stones—also known as thumb stones or palm stones—have been cherished for their ability to ease anxiety and promote a sense of calm.
By rubbing the smooth surface with your thumb, you can ground yourself in the present moment and find solace amidst life’s uncertainties.
Gathering Your Materials
To get started on your clay worry stone journey, you’ll need a few basic materials. Gather together air-dry clay, sculpting tools or household items like toothpicks and butter knives, sandpaper for smoothing, acrylic paints or markers for decorating, and a protective sealant to finish off your creations.
With these supplies in hand, you’re ready to unleash your creativity and craft your own personalized worry stones.
Preparing Your Workspace
Before diving into the clay crafting process, take a moment to set up a dedicated workspace. Find a well-lit area with ample ventilation, and cover your work surface with newspaper or a plastic tablecloth to protect it from clay residue.
Gather your materials within easy reach, and let the peaceful ambiance inspire your creative endeavors.
Shaping Your Worry Stones
Now comes the fun part—transforming malleable clay into serene worry stones. Take a small portion of air-dry clay and roll it into a smooth ball between your palms.
Then, using your fingers or sculpting tools, gently flatten the ball into a rounded shape, resembling a traditional worry stone. Pay attention to the curves and contours, ensuring a comfortable fit for your thumb.
Adding Texture and Detail
With the basic shape formed, it’s time to add texture and detail to your clay worry stones. Experiment with different sculpting tools to create patterns, ridges, or indentations on the surface, enhancing both the tactile and visual appeal of your creations.
Let your imagination guide you as you infuse each stone with unique character and charm.
Decorating Your Worry Stones
Once your clay worry stones are shaped and textured to your satisfaction, it’s time to unleash your inner artist. Break out the acrylic paints or markers, and decorate your stones with intricate designs, vibrant colors, or meaningful symbols.
Whether you opt for bold patterns or subtle hues, let your creativity flow freely as you imbue each stone with personal significance.
Allowing Time to Cure
After completing the decorating process, allow your clay worry stones to air dry thoroughly. Depending on the type of clay used, this may take anywhere from a few hours to a few days.
Exercise patience during this crucial curing period, resisting the temptation to handle or move the stones prematurely. Trust that good things come to those who wait, and soon your creations will be ready for the final step.
Sealing and Enjoying Your Creations
Once your clay worry stones are fully dry, apply a protective sealant to preserve their beauty and durability. Choose a clear varnish or sealant specifically designed for clay crafts, and carefully coat each stone to provide a glossy finish and added protection against wear and tear.
Once sealed, your worry stones are ready to accompany you on your journey of self-discovery and mindfulness, serving as tangible reminders of strength, resilience, and inner peace.
I hope this guide inspires you to embark on a creative adventure in crafting your own worry stones from clay!

More interesting articles you may be interested in reading:

