How To Prune Your Spider Plant Correctly!

Spider plants (Chlorophytum comosum) are popular houseplants known for their air-purifying qualities and attractive, arching leaves. Proper pruning is essential to maintain their health and appearance. Here’s a detailed guide to help you prune your spider plant correctly.
Understanding the Spider Plant
Before diving into pruning, it’s essential to understand the basic anatomy and growth habits of the spider plant. Native to South Africa, spider plants are characterized by their long, narrow, arching leaves that are often variegated with white or yellow stripes.
They produce small, white flowers on long stems, which eventually turn into baby plants or “spiderettes.”
Why Prune Your Spider Plant?
Pruning is crucial for maintaining the plant’s health and aesthetics. Regular pruning helps remove dead or damaged leaves, encourages new growth, and prevents the plant from becoming too leggy or overgrown. It also helps to control the spread of spiderettes, ensuring your plant looks neat and tidy.
The Best Time to Prune
Timing is key when it comes to pruning spider plants. The best time to prune is during the growing season, typically from spring to early autumn. Avoid pruning during the winter months when the plant is in a dormant state, as this can stress the plant and inhibit growth.
Tools You’ll Need
To prune your spider plant correctly, you’ll need a few basic tools:
- Sharp Scissors or Pruning Shears: Ensure they are clean and sharp to make precise cuts and avoid damaging the plant.
- Gloves: Optional, but they can protect your hands from potential irritation.
- A Clean Cloth or Paper Towel: To wipe down your tools before and after pruning.
Step-by-Step Pruning Guide
A. Removing Dead or Yellow Leaves
- Identify Dead or Yellow Leaves: Look for leaves that are brown, yellow, or wilted.
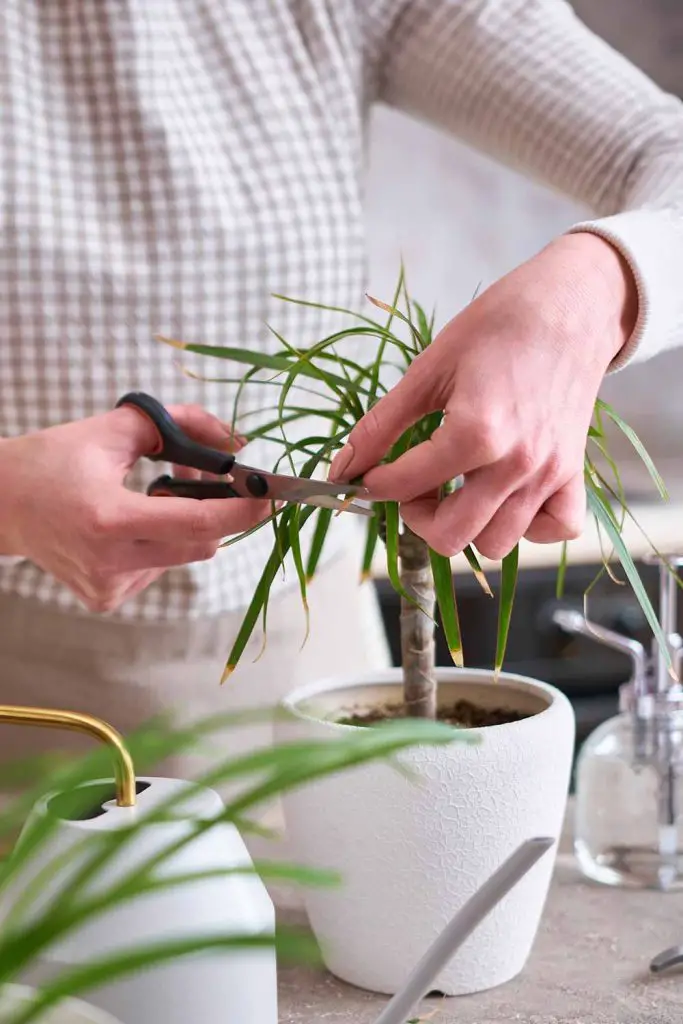
- Cut at the Base: Using your scissors or pruning shears, cut the affected leaves at the base, close to the soil.
B. Trimming Spiderettes
- Locate Spiderettes: Identify the baby plants growing on long stems.
- Cut the Stem: Trim the stem close to the main plant. You can pot the spiderettes to grow new plants or discard them.
C. Shaping the Plant
- Assess Overall Shape: Step back and assess the plant’s shape.
- Trim Excess Growth: Cut back any excessively long or unruly leaves to maintain a balanced, attractive shape.
Encouraging Healthy Growth
After pruning, it’s essential to provide the right care to encourage healthy growth. Ensure your spider plant is in a well-draining pot with suitable soil, and place it in a spot with indirect sunlight. Water the plant when the top inch of soil feels dry, and avoid overwatering, which can lead to root rot.
Common Pruning Mistakes to Avoid
- Over-Pruning: Avoid cutting too many leaves at once, which can stress the plant.
- Using Dull Tools: Always use sharp scissors or pruning shears to make clean cuts.
- Ignoring Signs of Distress: Pay attention to the plant’s response after pruning and adjust care as needed.
Troubleshooting Post-Pruning Issues
If your spider plant shows signs of distress after pruning, such as wilting or browning tips, check for the following issues:
- Overwatering or Underwatering: Adjust your watering schedule.
- Pest Infestation: Inspect for pests and treat accordingly.
- Insufficient Light: Ensure the plant receives adequate indirect sunlight.
Long-Term Pruning and Maintenance
Regular pruning is part of long-term care for spider plants. Schedule pruning sessions every few months to keep your plant healthy and vibrant. Additionally, repot your spider plant every 1-2 years to provide fresh soil and more space for growth.
Pruning your spider plant correctly ensures it remains a stunning and healthy addition to your home. With these tips, you’ll be able to maintain your plant’s beauty and vitality for years to come. Happy gardening!

More interesting articles you may be interested in reading:

