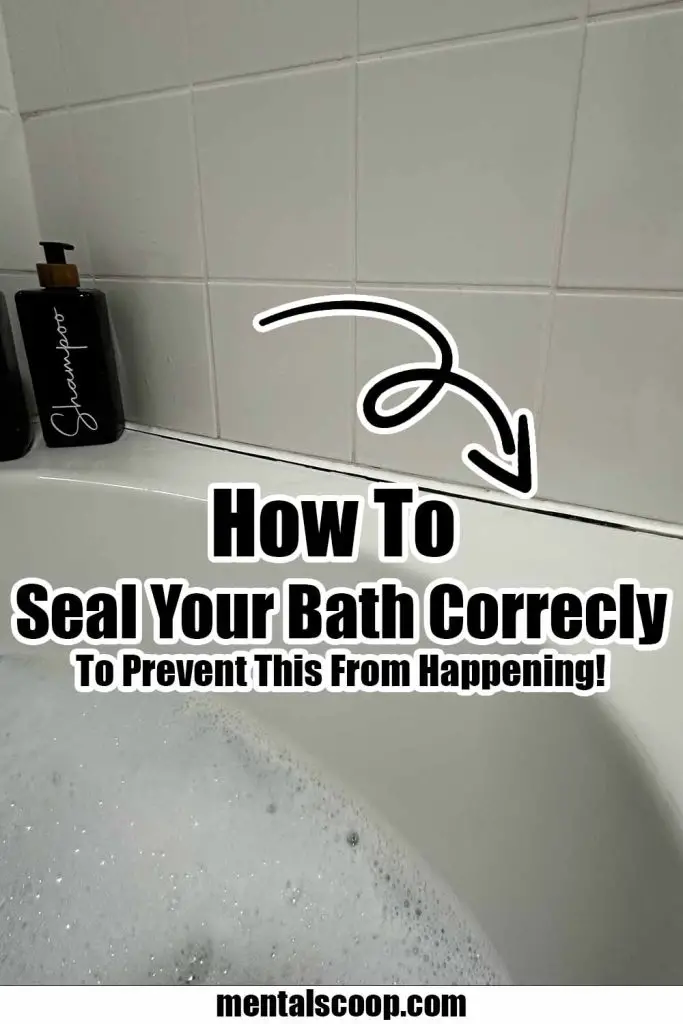
How To Seal Your Bath Correctly To Prevent This From Happening!

Your bath is not just a functional space; it’s your sanctuary, a place to unwind after a long day. Ensuring it remains in pristine condition is essential, and a key part of this is properly sealing it.
A well-sealed bath not only enhances the aesthetics of your bathroom but also prevents water damage and maintains the structural integrity of your home.
In this comprehensive guide, we’ll walk you through nine expert tips to help you seal your bath correctly, ensuring a flawless and long-lasting finish.
Gather Your Supplies: The Foundation of a Perfect Seal
Before you start, gather all the necessary supplies. You’ll need a high-quality silicone sealant, a caulking gun, a utility knife, rubbing alcohol, and silicone smoothing tools. Having these items on hand will streamline the process and give you a professional result.
Preparation Is Key: Clean and Dry the Area Thoroughly
The secret to a durable seal lies in the preparation. Clean the edges of your bath meticulously, removing any existing sealant, grime, or soap residue. Dry the area completely to ensure the new sealant adheres properly, enhancing its longevity.
Choose the Right Sealant: Quality Matters
Invest in a premium silicone sealant specifically designed for bathroom use. Look for a mold-resistant and waterproof sealant to safeguard your bath from moisture. Opting for a high-quality product ensures a reliable seal that will endure daily wear and tear.
Apply the Sealant with Precision: Technique Matters
Load the sealant tube into the caulking gun and cut the nozzle at a 45-degree angle to achieve the desired bead size. Apply even pressure on the trigger while guiding the gun along the joint. Maintain a steady hand for a smooth, uniform application.
Smooth and Shape: Create a Professional Finish
Once the sealant is applied, dip your silicone smoothing tools in rubbing alcohol to prevent sticking. Gently glide the tools over the sealant, shaping it into a neat, concave line. Smoothing the sealant not only enhances its appearance but also improves its effectiveness.
Be Patient: Allow Sufficient Drying Time
Resist the temptation to use your bath immediately after sealing. Follow the manufacturer’s guidelines for drying time, typically around 24 hours, to ensure the sealant cures completely. Patience at this stage guarantees a strong, resilient seal.
Regular Maintenance: Prolonging the Lifespan of Your Seal
To extend the life of your bath seal, perform regular checks for signs of wear or damage. Address any issues promptly by resealing the affected areas. Regular maintenance will prevent water leakage and maintain the overall integrity of your bath and bathroom.
Addressing Common Mistakes: Learn from Others
Knowing the common mistakes can save you from future headaches. Avoid issues such as uneven sealant application, insufficient drying time, or using low-quality sealant. Learning from others’ mistakes ensures your sealing process is smooth and error-free.
Consult a Professional: When in Doubt, Seek Expert Advice
If you find the process overwhelming or encounter difficulties, don’t hesitate to seek professional help. Experienced professionals have the expertise and tools to seal your bath flawlessly, ensuring a watertight finish that lasts for years.
Sealing your bath correctly is a small investment with significant returns. By following these nine expert tips, you’ll not only enhance the aesthetics of your bathroom but also protect your home from water damage. Remember, the key lies in meticulous preparation, precise application, and regular maintenance.
With the right techniques and high-quality sealant, your bath will remain a pristine oasis for years to come.

More interesting articles you may be interested in reading:

How To Remove A Tree Stump Painlessly
10 Vital Home Maintenance Tasks You’ll Regret If You Forget
See How Much Propane Is Left In A Tank With No Gauge
Thanks for reading and be sure to share this info with your friends using the social share buttons below.
Talking about social stuff, consider liking our Facebook page to keep up to date with our articles. Check out our other articles for more mental scoops!
