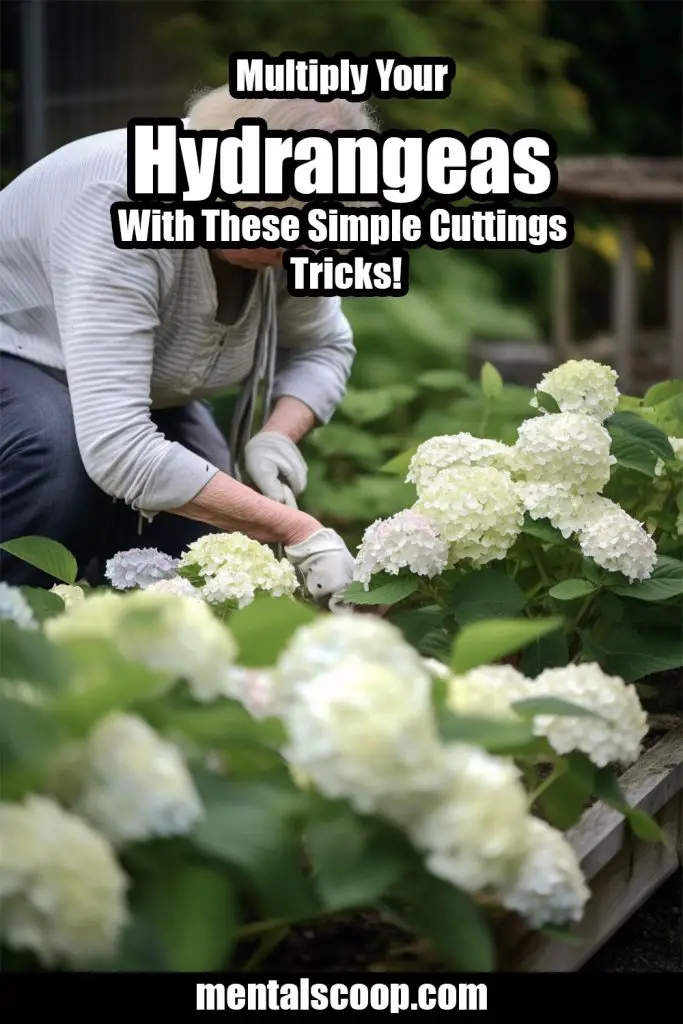
Hydrangeas are one of the most popular plants in gardens all over the world. These beautiful flowers come in a variety of colors, and their large blooms make them a favorite for many gardeners. Hydrangeas are not only beautiful, but they are also easy to grow and propagate. Taking hydrangea cuttings is a simple and effective way to multiply your favorite plants. In this article, we will go over the step-by-step process of how to take hydrangea cuttings.
What Are Hydrangea Cuttings?
Hydrangea cuttings are sections of the plant that are removed and propagated to create new plants. Hydrangea cuttings are usually taken from the softwood of the plant, which is the new growth that appears in the spring.
The cuttings can be rooted in soil, water, or a rooting hormone, and they will eventually grow into new plants.
When to Take Hydrangea Cuttings?
The best time to take hydrangea cuttings is in the early summer when the plant is actively growing. It’s important to take the cuttings when the plant is not in bloom because the plant will put more energy into growing new roots rather than producing flowers.
If you take cuttings too early in the spring or too late in the summer, they may not root successfully.
What You Will Need to Take Hydrangea Cuttings?
- Pruning shears or a sharp knife
- A clean and sharp pair of scissors
- A rooting hormone (optional)
- A container filled with potting soil
- A misting bottle or a plastic bag
- A shaded area
Step-by-Step Guide to Taking Hydrangea Cuttings
Step 1: Select the Stem
Choose a stem from the hydrangea plant that is about 4-6 inches long and has at least 2-3 nodes. Nodes are the points where the leaves grow from the stem. Make sure that the stem you choose is healthy and free from any disease or damage.
Step 2: Prepare the Cutting
Using a pair of pruning shears or a sharp knife, cut the stem at a 45-degree angle, just below the lowest node. Remove any leaves from the stem except for the top two or three leaves.
Step 3: Apply the Rooting Hormone (Optional)
If you have a rooting hormone, dip the cut end of the stem into the hormone powder or liquid. This will help to stimulate root growth and increase the chances of the cutting rooting successfully.
Step 4: Plant the Cutting
Fill a container with potting soil and make a small hole in the center with a pencil or your finger. Insert the stem into the hole, making sure that the bottom node is buried in the soil. Gently press the soil around the stem to secure it in place.
Step 5: Water the Cutting
Water the cutting thoroughly to settle the soil around the stem. Make sure that the soil is moist but not waterlogged. Overwatering can cause the cutting to rot before it has a chance to root.
Step 6: Cover the Cutting
Cover the cutting with a misting bottle or a plastic bag to create a humid environment. This will help to prevent the cutting from drying out and increase the chances of rooting.
Step 7: Place in a Shaded Area
Place the container in a shaded area where it will receive indirect sunlight. Avoid placing the cutting in direct sunlight, as this can cause the cutting to dry out or overheat.
Step 8: Monitor the Cutting
Check the cutting regularly to make sure that the soil remains moist and that the cutting is not drying out. Mist the cutting with water if the soil appears dry. After a few weeks, you should see new growth and roots forming from the stem. At this point, you can remove the plastic bag or misting bottle and gradually expose the cutting to more light.
Step 9: Transplant the Cutting
After the cutting has rooted and started to grow, it’s time to transplant it into a larger container or into the ground. Wait until the cutting has developed a good root system before transplanting, which can take anywhere from 4-6 weeks.
To transplant the cutting, gently remove it from the container and carefully separate the roots. Plant it in a well-draining soil mixture and water it thoroughly. Make sure to keep the soil moist until the plant is established.
Tips for Success
Choose a healthy stem with at least 2-3 nodes
Use sharp pruning shears or a knife to make a clean cut
Remove any leaves from the stem except for the top two or three leaves
Use a rooting hormone to increase the chances of success
Keep the soil moist but not waterlogged
Provide a humid environment by covering the cutting with a misting bottle or plastic bag
Avoid placing the cutting in direct sunlight
Be patient and wait for the cutting to develop a good root system before transplanting
Overall
Taking hydrangea cuttings is an easy and effective way to multiply your favorite plants. By following these simple steps, you can create new plants from existing ones and enjoy the beauty of hydrangeas in your garden year after year. With a little patience and care, you can successfully take hydrangea cuttings and watch them grow into beautiful plants.

More interesting articles you may be interested in reading:

How To Remove A Tree Stump Painlessly
10 Vital Home Maintenance Tasks You’ll Regret If You Forget
See How Much Propane Is Left In A Tank With No Gauge
Thanks for reading and be sure to share this info with your friends using the social share buttons below.
Talking about social stuff, consider liking our Facebook page to keep up to date with our articles. Check out our other articles for more mental scoops!
