Cherry Cobbler

Why I Made This Cherry Cobbler Recipe
When I think of comfort desserts, Cherry Cobbler is always at the top of my list. It’s that sweet, juicy filling paired with a golden, buttery crust that just feels like a warm hug after a long day. I love this recipe because it’s easy to throw together with just a few simple ingredients, and the best part?
My family absolutely devours it! There’s nothing more satisfying than seeing everyone reach for seconds and hearing them rave about how delicious it is. Trust me—once you try it, you’ll find yourself making it over and over again.
Questions I Often Get Asked About This Recipe

Q: Can I use frozen cherries instead of fresh ones?
A: Absolutely! Frozen cherries work just as well, and you don’t even need to thaw them. Just toss them right in, and they’ll bake up beautifully.
Q: Can I substitute the cherries with another fruit?
A: Yes, you can! This cobbler recipe is versatile, so feel free to swap out cherries for peaches, berries, or even apples for a different flavor twist.
Q: Do I need to refrigerate leftovers?
A: Yes, I recommend storing leftovers in an airtight container in the fridge. It will keep for up to 3-4 days—if it lasts that long!
Q: How can I make the cobbler topping extra crispy?
A: For a crispier topping, sprinkle a bit of coarse sugar over the top before baking. It adds a delightful crunch to every bite.
Q: Can I make this recipe vegan or gluten-free?
A: Yes! You can use a dairy-free butter substitute and gluten-free flour. The cobbler will still turn out delicious and be just as satisfying.
What You Need to Make Cherry Cobbler

For the Filling:
Cherries (fresh or frozen, pitted): 4 cups
Granulated sugar: 1/2 to 3/4 cup (adjust to taste)
Cornstarch: 2 tablespoons
Lemon juice: 1 tablespoon
For the Topping:
All-purpose flour: 1 cup
Baking powder: 1 teaspoon
Salt: 1/4 teaspoon
Unsalted butter (cold): 6 tablespoons
Milk: 1/2 cup
Vanilla extract: 1 teaspoon
How to Make Cherry Cobbler

- Prepare the Filling:
Preheat your oven to 375°F (190°C). In a large bowl, combine cherries, sugar, cornstarch, and lemon juice. Stir until the cherries are evenly coated, then pour the mixture into a baking dish. - Make the Topping:
In another bowl, whisk together the flour, baking powder, and salt. Cut in the cold butter until the mixture resembles coarse crumbs. Stir in the milk and vanilla extract until just combined. - Assemble and Bake:
Drop spoonfuls of the topping over the cherry mixture, spreading it out evenly. Bake for 35-40 minutes, or until the topping is golden brown and the cherry filling is bubbly. - Serve:
Let the cobbler cool slightly before serving. It’s perfect on its own or with a scoop of vanilla ice cream!
Tips for the Best Cherry Cobbler

- Use Cold Butter: Using cold butter in the topping is key to achieving that perfect flaky texture.
- Adjust the Sweetness: Depending on the sweetness of your cherries, you may want to adjust the sugar in the filling. Taste and tweak before baking.
- Don’t Overmix the Topping: Stir the topping until just combined to keep it light and tender.
- Serving Suggestion: Serve warm with a scoop of vanilla ice cream or a dollop of whipped cream for the ultimate dessert experience.
- Make Ahead Tip: You can prepare the cherry filling a day ahead and store it in the fridge until you’re ready to bake.
Reader Reviews

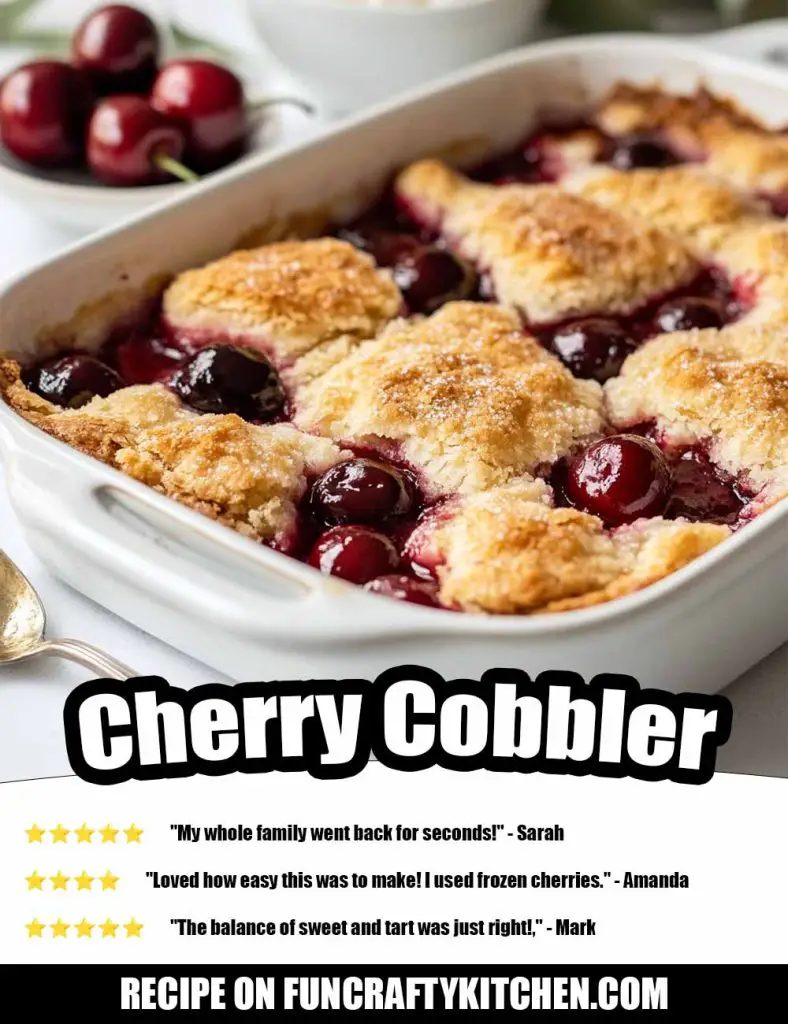
⭐️⭐️⭐️⭐️⭐️ “This was the best cobbler I’ve ever made! My whole family went back for seconds, and it was gone in no time. The topping was perfectly golden and crispy!” – Sarah
⭐️⭐️⭐️⭐️ “Loved how easy this was to make! I used frozen cherries, and it turned out amazing. Next time, I’ll try it with blueberries.” – Amanda
⭐️⭐️⭐️⭐️⭐️ “This recipe is a keeper! The balance of sweet and tart was just right, and the vanilla in the topping was a nice touch.” – Mark
⭐️⭐️⭐️⭐️ “Super delicious! My only issue was that I wanted more topping, but that’s a personal preference. Will definitely make again!” – Jess
⭐️⭐️⭐️⭐️⭐️ “Made this for a family gathering, and everyone raved about it. I added a pinch of cinnamon to the filling, and it was perfect.” – Emily
Printable Recipe
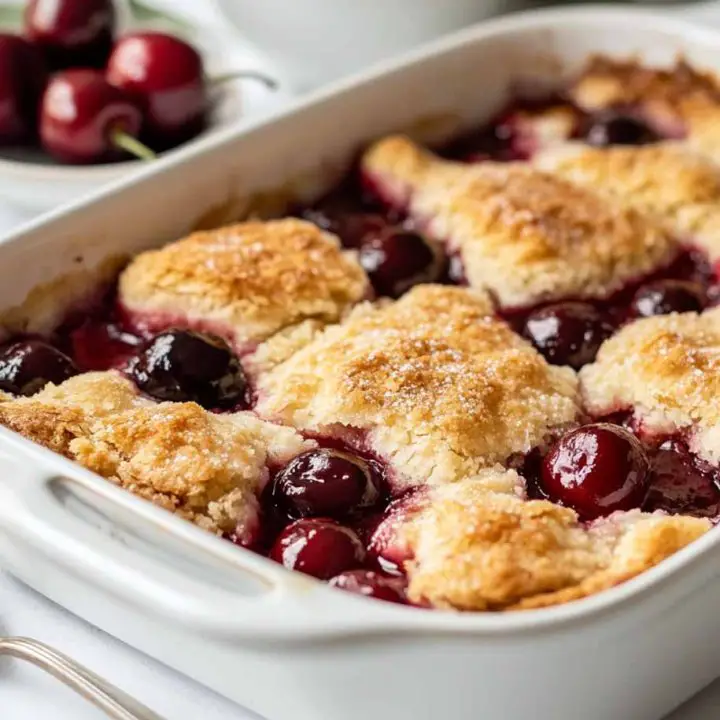
Cherry Cobbler
This Cherry Cobbler is the perfect dessert for any occasion, with a sweet, juicy cherry filling and a golden, buttery topping. It’s quick and easy to make with fresh or frozen cherries, and it's sure to become a family favorite!
Ingredients
- For the Filling:
- Cherries (fresh or frozen, pitted): 4 cups
- Granulated sugar: 1/2 to 3/4 cup (adjust to taste)
- Cornstarch: 2 tablespoons
- Lemon juice: 1 tablespoon
- For the Topping:
- All-purpose flour: 1 cup
- Baking powder: 1 teaspoon
- Salt: 1/4 teaspoon
- Unsalted butter (cold): 6 tablespoons
- Milk: 1/2 cup
- Vanilla extract: 1 teaspoon
Instructions
- Prepare the Filling:Preheat your oven to 375°F (190°C). In a large bowl, combine cherries, sugar, cornstarch, and lemon juice. Stir until the cherries are evenly coated, then pour the mixture into a baking dish.
- Make the Topping:In another bowl, whisk together the flour, baking powder, and salt. Cut in the cold butter until the mixture resembles coarse crumbs. Stir in the milk and vanilla extract until just combined.
- Assemble and Bake:Drop spoonfuls of the topping over the cherry mixture, spreading it out evenly. Bake for 35-40 minutes, or until the topping is golden brown and the cherry filling is bubbly.
- Serve:Let the cobbler cool slightly before serving. It's perfect on its own or with a scoop of vanilla ice cream!
Check Out Some Of Our Other Recipes / Crafts
Blissful Blueberry Shortcake Cake
Make Delicious Ice Cream in a Bag in Just 15 Minutes
If You Enjoyed This Recipe, Please Share!
If you enjoyed this Cherry Cobbler recipe, I’d love for you to share it with your friends and family! Whether it’s on Facebook, Instagram, or Pinterest, sharing recipes helps others find delicious dishes to try in their own kitchens. Plus, it’s always fun to see how your creations turn out!
Don’t forget to tag me in your posts so I can see how your cobbler turned out and hear your thoughts. Sharing is caring, and it means the world to me when you spread the word about this recipe. Happy baking!

It is not a recipe, it is only a list of ingredients with no measurements. Garbage
Well, how embarrassing. So sorry, I added the measurements. my fault 🤦♀️
What size baking dish are you using? Is it 8×8 or 9×13? Thanks!
Sorry, 9×13.