Delicious Charcuterie Cups

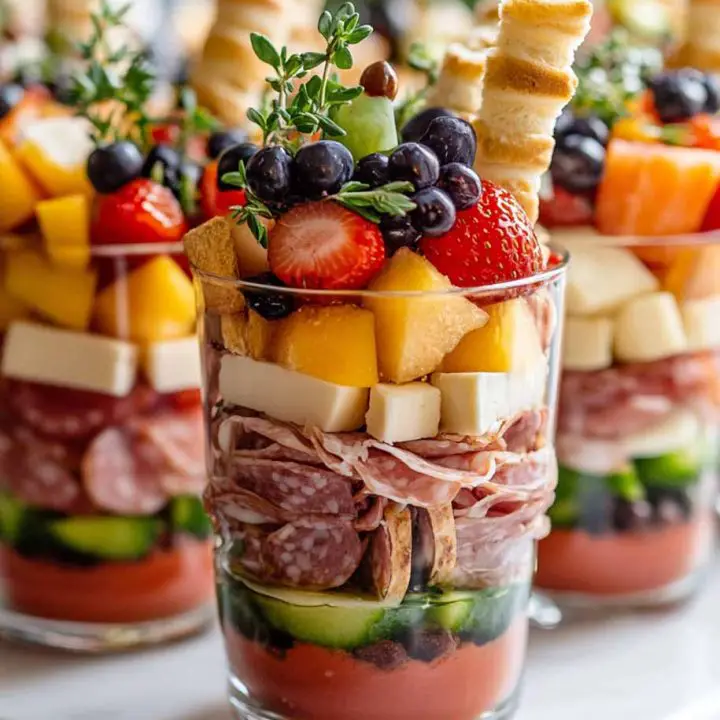
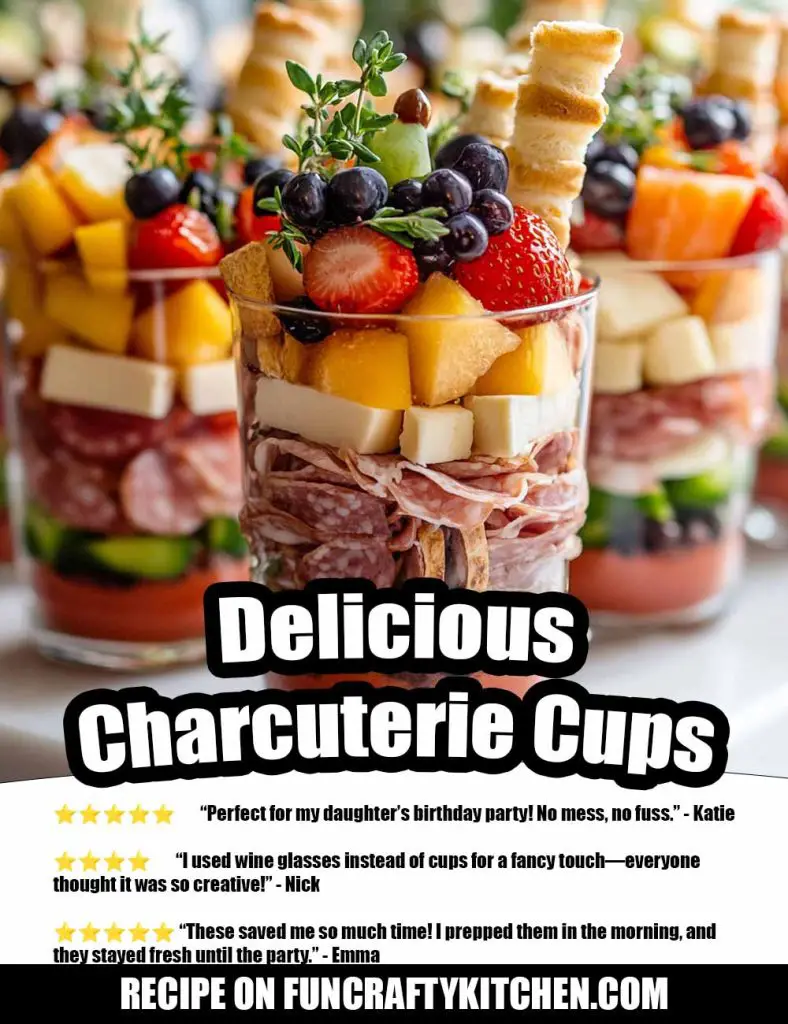
Charcuterie boards are a hit at every gathering, but let’s face it—they can get messy! That’s why I started making individual charcuterie cups, and they’ve quickly become a staple at our parties. These adorable, single-serving cups are the perfect grab-and-go appetizers, packed with a variety of flavors.
From salty cured meats to creamy cheeses and crisp veggies, they’re as versatile as they are impressive. My family loves the bite-sized convenience, and I love how easy they are to customize for any occasion. Plus, no double-dipping drama!
Questions I Often Get Asked About This Recipe

Q: Can I prepare these cups ahead of time?
A: Definitely! Assemble them a few hours before your event, cover them with plastic wrap, and store them in the fridge.
Q: What kind of cups should I use?
A: Clear, disposable party cups or small glass jars work best so guests can see all the colorful ingredients.
Q: Can I make these vegetarian?
A: Of course! Swap the meats for items like marinated tofu cubes, roasted chickpeas, or extra veggies.
Q: How do I keep the ingredients fresh?
A: Use firm fruits like grapes or apple slices dipped in lemon water, and add greens like arugula just before serving to avoid wilting.
Q: What’s the best way to display these cups?
A: Arrange them on a tray or tiered stand for an elegant presentation. You can even add small name cards to indicate the ingredients.
What You Need to Make Delicious Charcuterie Cups

- Cured Meats: Salami, prosciutto, or pepperoni.
- Cheese: Cubed cheddar, brie wedges, or mozzarella balls.
- Fresh Fruit: Grapes, berries, or apple slices.
- Vegetables: Cherry tomatoes, cucumber slices, or mini peppers.
- Crunchy Snacks: Breadsticks, pretzel rods, or crackers.
- Extras: Nuts, olives, dried fruits, or fresh herbs for garnish.
- Cups: Clear plastic or glass cups.
How to Make Delicious Charcuterie Cups

- Prep the Ingredients: Slice and cube cheeses, wash fruits and veggies, and arrange everything into small bowls for easy assembly.
- Layer the Cups: Start with something sturdy at the base, like nuts or olives. Add cheese, meats, and veggies in alternating layers.
- Add Height: Use breadsticks or pretzel rods to give each cup some visual appeal and structure.
- Garnish: Top with fresh herbs like rosemary or thyme for a fragrant finishing touch.
- Chill: Cover and refrigerate until ready to serve.
Tips for Perfect Charcuterie Cups

- Balance the Flavors: Aim for a mix of salty, sweet, creamy, and crunchy.
- Keep Portions Bite-Sized: Stick to small cuts of meat and cheese for easier eating.
- Add Color: Use vibrant fruits and veggies to make each cup pop visually.
- Personalize: Tailor the cups to your guests’ preferences (e.g., nut-free or gluten-free options).
- Use Skewers: Small cocktail picks can make it easier for guests to grab specific items.
Reader Reviews

⭐⭐⭐⭐⭐ “These charcuterie cups were a hit at my bridal shower! They looked so fancy and were super easy to eat.” – Anna
⭐⭐⭐⭐⭐ “I loved how customizable these were. I made some vegetarian and some gluten-free, and everyone loved them!” – Laura
⭐⭐⭐⭐⭐ “Perfect for my daughter’s birthday party! No mess, no fuss.” – Katie
⭐⭐⭐⭐ “I used wine glasses instead of cups for a fancy touch—everyone thought it was so creative!” – Nick
⭐⭐⭐⭐⭐ “These saved me so much time! I prepped them in the morning, and they stayed fresh until the party.” – Emma
Printable Recipe

Delicious Charcuterie Cups
Delicious Charcuterie Cups are the perfect party appetizer! Easy to customize and mess-free, these single-serving cups combine cured meats, cheeses, fruits, and crunchy snacks for a crowd-pleasing treat.
Ingredients
- Cured Meats: Salami, prosciutto, or pepperoni.
- Cheese: Cubed cheddar, brie wedges, or mozzarella balls.
- Fresh Fruit: Grapes, berries, or apple slices.
- Vegetables: Cherry tomatoes, cucumber slices, or mini peppers.
- Crunchy Snacks: Breadsticks, pretzel rods, or crackers.
- Extras: Nuts, olives, dried fruits, or fresh herbs for garnish.
- Cups: Clear plastic or glass cups.
Instructions
- Prep the Ingredients: Slice and cube cheeses, wash fruits and veggies, and arrange everything into small bowls for easy assembly.
- Layer the Cups: Start with something sturdy at the base, like nuts or olives. Add cheese, meats, and veggies in alternating layers.
- Add Height: Use breadsticks or pretzel rods to give each cup some visual appeal and structure.
- Garnish: Top with fresh herbs like rosemary or thyme for a fragrant finishing touch.
- Chill: Cover and refrigerate until ready to serve.
Check Out Some Of Our Other Recipes / Crafts
Blissful Blueberry Shortcake Cake
Make Delicious Ice Cream in a Bag in Just 15 Minutes
If You Enjoyed This Recipe, Please Share!
Charcuterie cups are the perfect way to wow your guests without the stress of a full charcuterie board! If you loved this idea, share it with your friends and family on social media. Snap a picture of your beautiful creations, tag me, and spread the word about this fun and easy appetizer.
Hosting a party should be as enjoyable for you as it is for your guests, and these cups are guaranteed to make your life easier. Let’s inspire more hosts to elevate their snack game—one cup at a time!


