Quick & Easy: Make Delicious Ice Cream in a Bag in Just 15 Minutes!

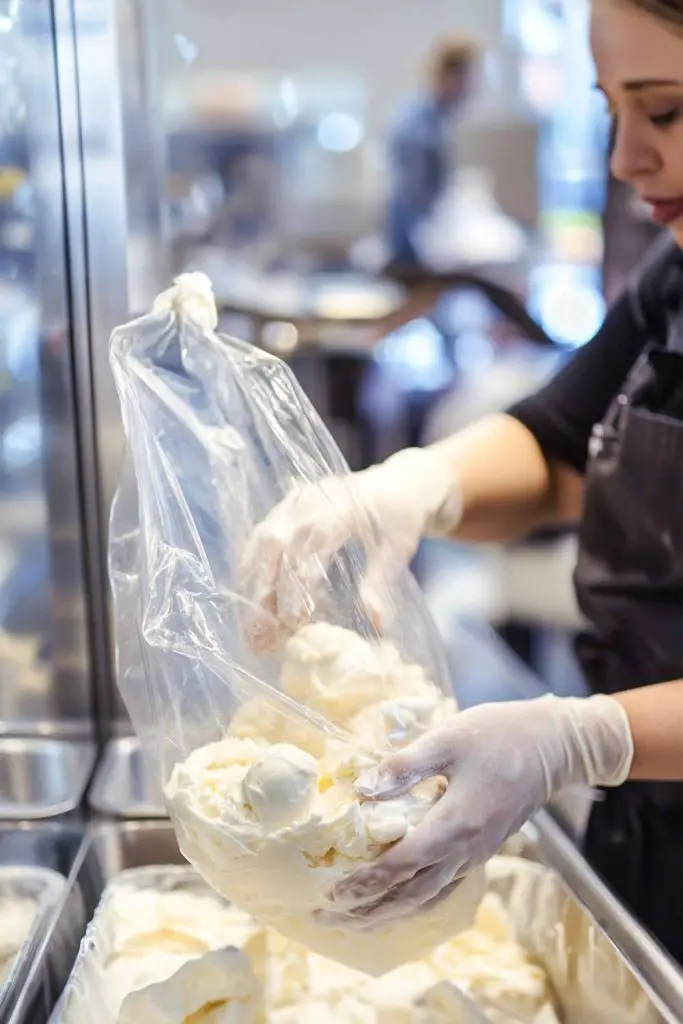
Craving homemade ice cream but don’t have an ice cream machine? No problem! With this quick and easy method, you can whip up a creamy, delicious treat in just 15 minutes using ingredients you probably already have at home.
Plus, it’s a fun activity for kids or anyone who loves hands-on projects. So, let’s dive into this simple DIY recipe!
Why Make Ice Cream in a Bag?

Making ice cream in a bag is perfect for a spontaneous treat, especially when you don’t have the time or tools for a traditional recipe.
Not only is it fast and easy, but it’s also a fun activity that allows you to experiment with flavors and get a hands-on feel for the process of making ice cream.
Kids love the excitement of shaking the bag, and it’s a great way to introduce them to cooking science. Plus, no special equipment is needed—just a couple of bags, ice, and some basic ingredients.
What You’ll Need: Ingredients and Tools

Before we get started, let’s gather the essentials. For this recipe, you’ll need only a handful of ingredients and tools:
Ingredients:
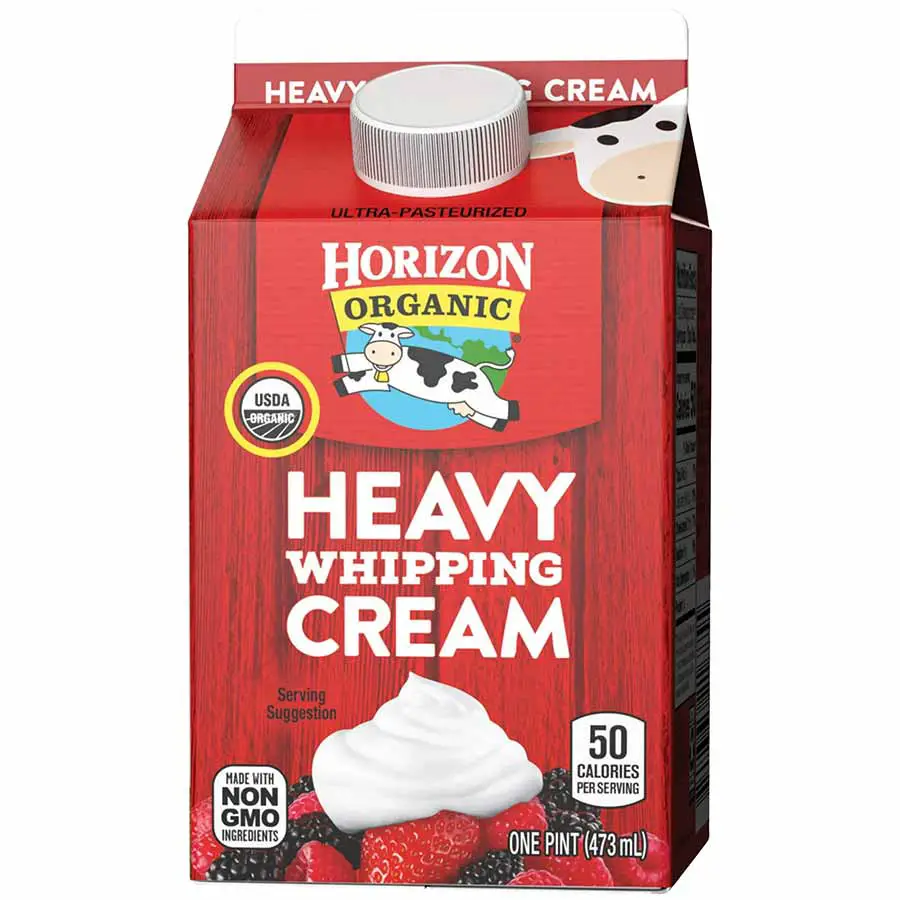
1 cup of heavy cream or half-and-half (for a lighter option, use whole milk)
2 tablespoons of sugar (adjust to taste)
1/2 teaspoon of vanilla extract (or any flavoring you prefer)
2 cups of ice
1/4 cup of rock salt or coarse salt (regular salt works too, but rock salt speeds up the freezing process)
Tools:
1 small resealable plastic bag (quart size)
1 large resealable plastic bag (gallon size)
Dish towel or oven mitts (to protect your hands while shaking)
Measuring cups and spoons
The Science Behind Ice Cream in a Bag

So, how does this magic work? When salt is added to ice, it lowers the freezing point, which causes the ice to melt while drawing heat away from the ingredients inside the small bag.
This creates the perfect conditions for your cream mixture to solidify into ice cream. It’s an exciting way to see chemistry in action—turning a liquid into a frozen dessert using just salt, ice, and motion!
Step-by-Step Instructions for Making Ice Cream in a Bag

Now that we have everything we need, let’s get started on this quick and easy recipe.
Step 1: Prepare the Ice Cream Mixture In the small resealable bag, combine the heavy cream (or milk), sugar, and vanilla extract. Seal the bag tightly, removing as much air as possible to avoid leaking during the shaking process.
Step 2: Set Up the Freezing Bag In the large resealable bag, place the ice and rock salt. The salt will help the ice melt faster, chilling the ice cream mixture more effectively.
Step 3: Combine the Bags Place the small bag (with the ice cream mixture) inside the large bag (with the ice and salt). Seal the large bag tightly, again removing as much air as possible.
Step 4: Shake, Shake, Shake! Here comes the fun part—shake the bag vigorously for 5-10 minutes. This is where the dish towel or oven mitts come in handy, as the bag will get very cold. After a few minutes, you’ll notice the mixture in the small bag thickening and freezing.
Troubleshooting Common Issues
While this method is simple, a few things can go wrong. Here’s how to troubleshoot:
Ice Cream Too Soft?
- If your ice cream is still a bit runny after shaking, pop the small bag in the freezer for a few minutes to firm it up.
Bag Leaking?
- Make sure both bags are sealed properly. You can even double-bag the ice cream mixture if you’re worried about spills.
Ice Melting Too Fast?
- If the ice melts before the mixture freezes, add more ice and salt to the large bag.
Flavor Variations to Try

Once you’ve mastered the basic vanilla recipe, why not get creative? Here are a few ideas to customize your ice cream:
Chocolate: Add 1 tablespoon of cocoa powder to the cream mixture.
Strawberry: Mash up some fresh strawberries and mix them in.
Cookies & Cream: Crush up some Oreos or your favorite cookies and stir them into the ice cream after freezing.
Mint Chocolate Chip: Add 1/4 teaspoon of peppermint extract and a handful of mini chocolate chips.
Caramel Swirl: Drizzle caramel sauce into the ice cream once it’s frozen for a delicious swirl.
The possibilities are endless, so don’t be afraid to experiment with your favorite flavors and mix-ins!
Tips for a Smoother Process
Here are a few handy tips to make the ice cream-making process even easier:
Use gloves or a towel: Shaking the bag can get really cold, so keep your hands protected.
Shake with friends: If you’re making ice cream with others, take turns shaking the bag to keep things fun and prevent tired arms.
Make ahead: You can mix up the ingredients in the small bag and store them in the fridge until you’re ready to shake.
Fun Ways to Serve Your Homemade Ice Cream
Your freshly made ice cream is now ready to enjoy! Here are a few ways to serve it:
Classic in a cone: Scoop it into an ice cream cone for that nostalgic treat.
Sundae style: Top with whipped cream, chocolate sauce, and sprinkles for a fun sundae.
With fresh fruit: Pair your ice cream with fresh berries or slices of fruit for a refreshing dessert.
Ice cream sandwich: Spread it between two cookies for a delicious ice cream sandwich.
Enjoy Your 15-Minute Treat!
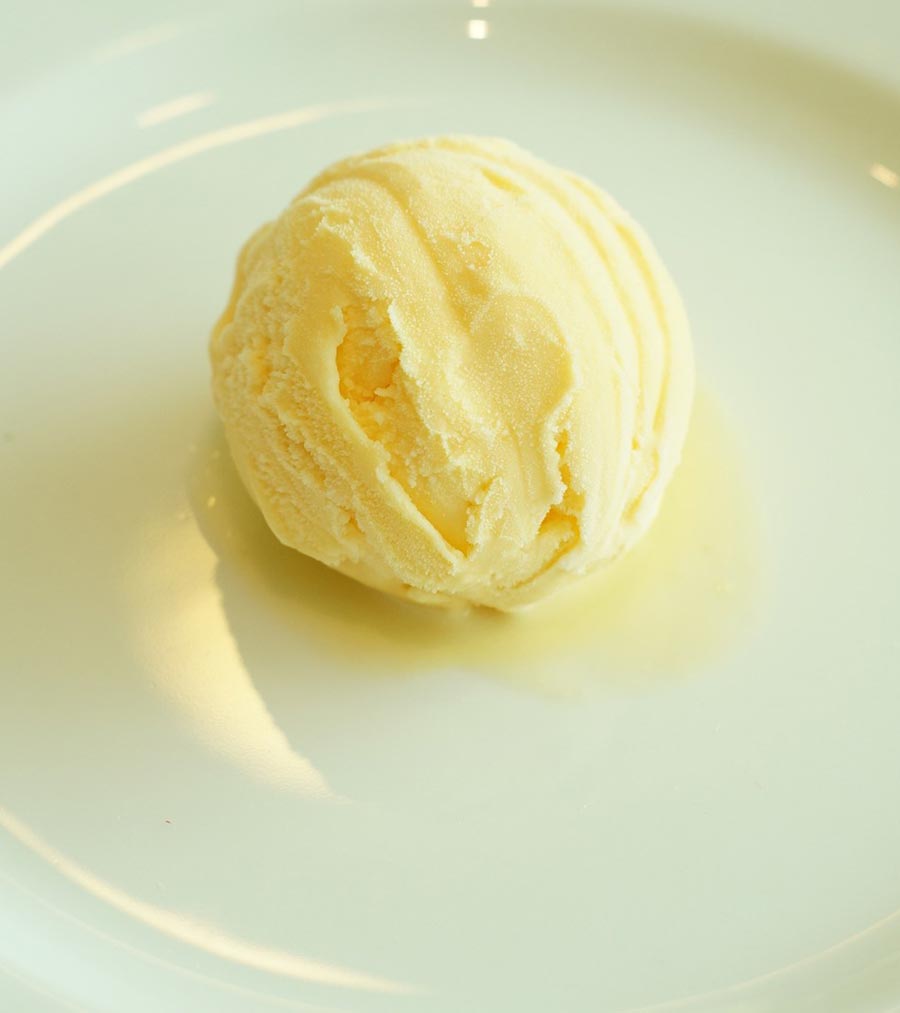
There you have it—quick and easy ice cream made right in a bag! In just 15 minutes, you can satisfy your sweet tooth without any fancy equipment or long wait times. This method is great for hot summer days, family get-togethers, or simply when you want a fun, delicious treat. So, grab your ingredients, start shaking, and enjoy your homemade ice cream!
More interesting articles you may be interested in reading:
Save Your Bacon Grease: 9 Surprising Uses You’ll Love!
9 Dangerous Food You Should Never Cook In Your Air Fryer!
Power Hungry: The Top 12 Biggest Energy Guzzlers In Your Home
Harvesting Elderberries Made Easy + 9 Recipes For Every Occasion
Thanks for reading and be sure to share this info with your friends using the social share buttons below.
Talking about social stuff, consider liking our Facebook page to keep up to date with our articles.


