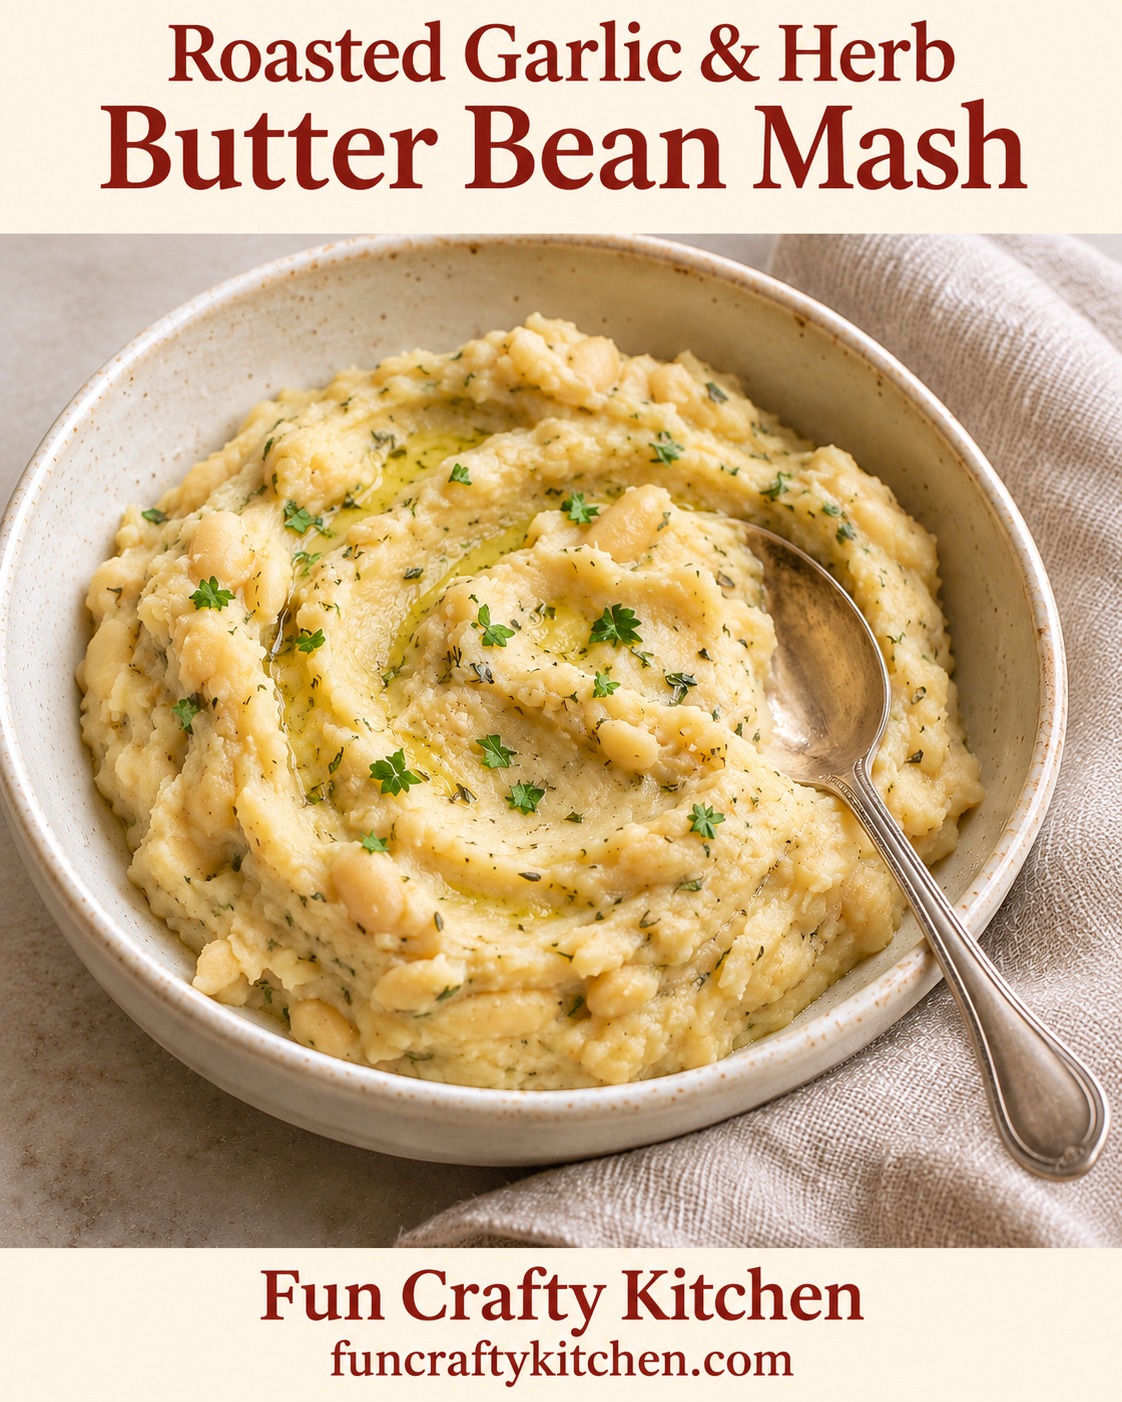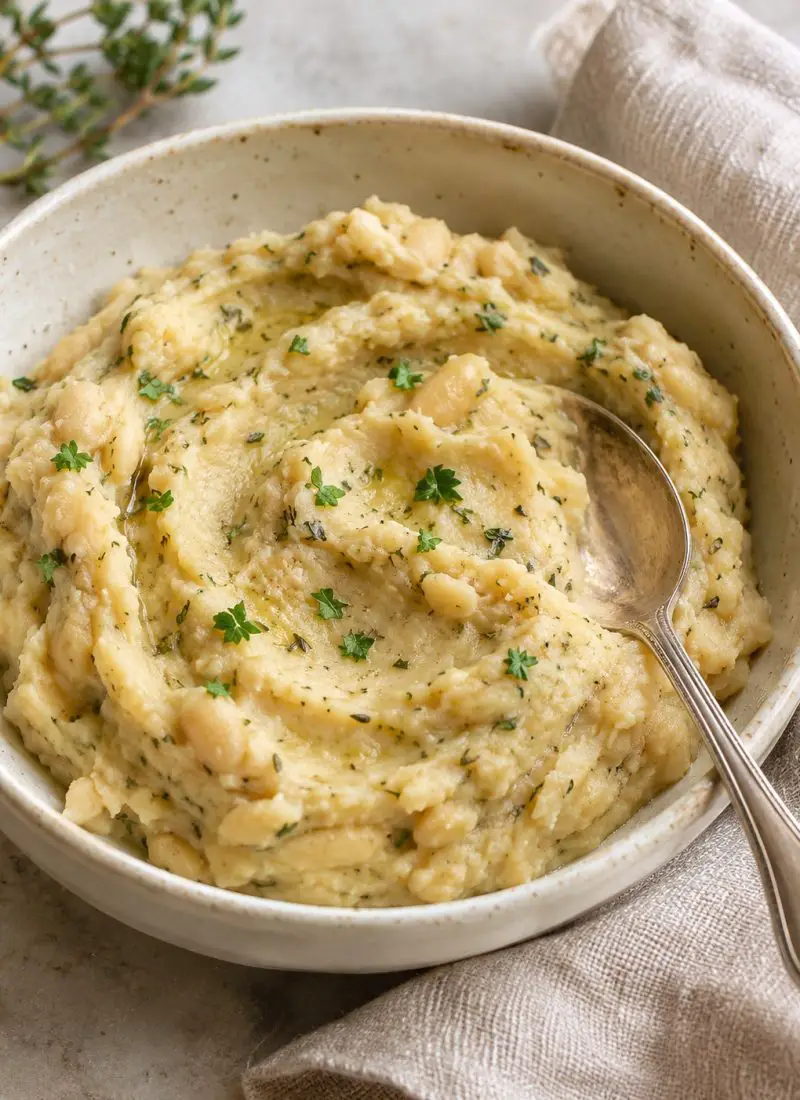
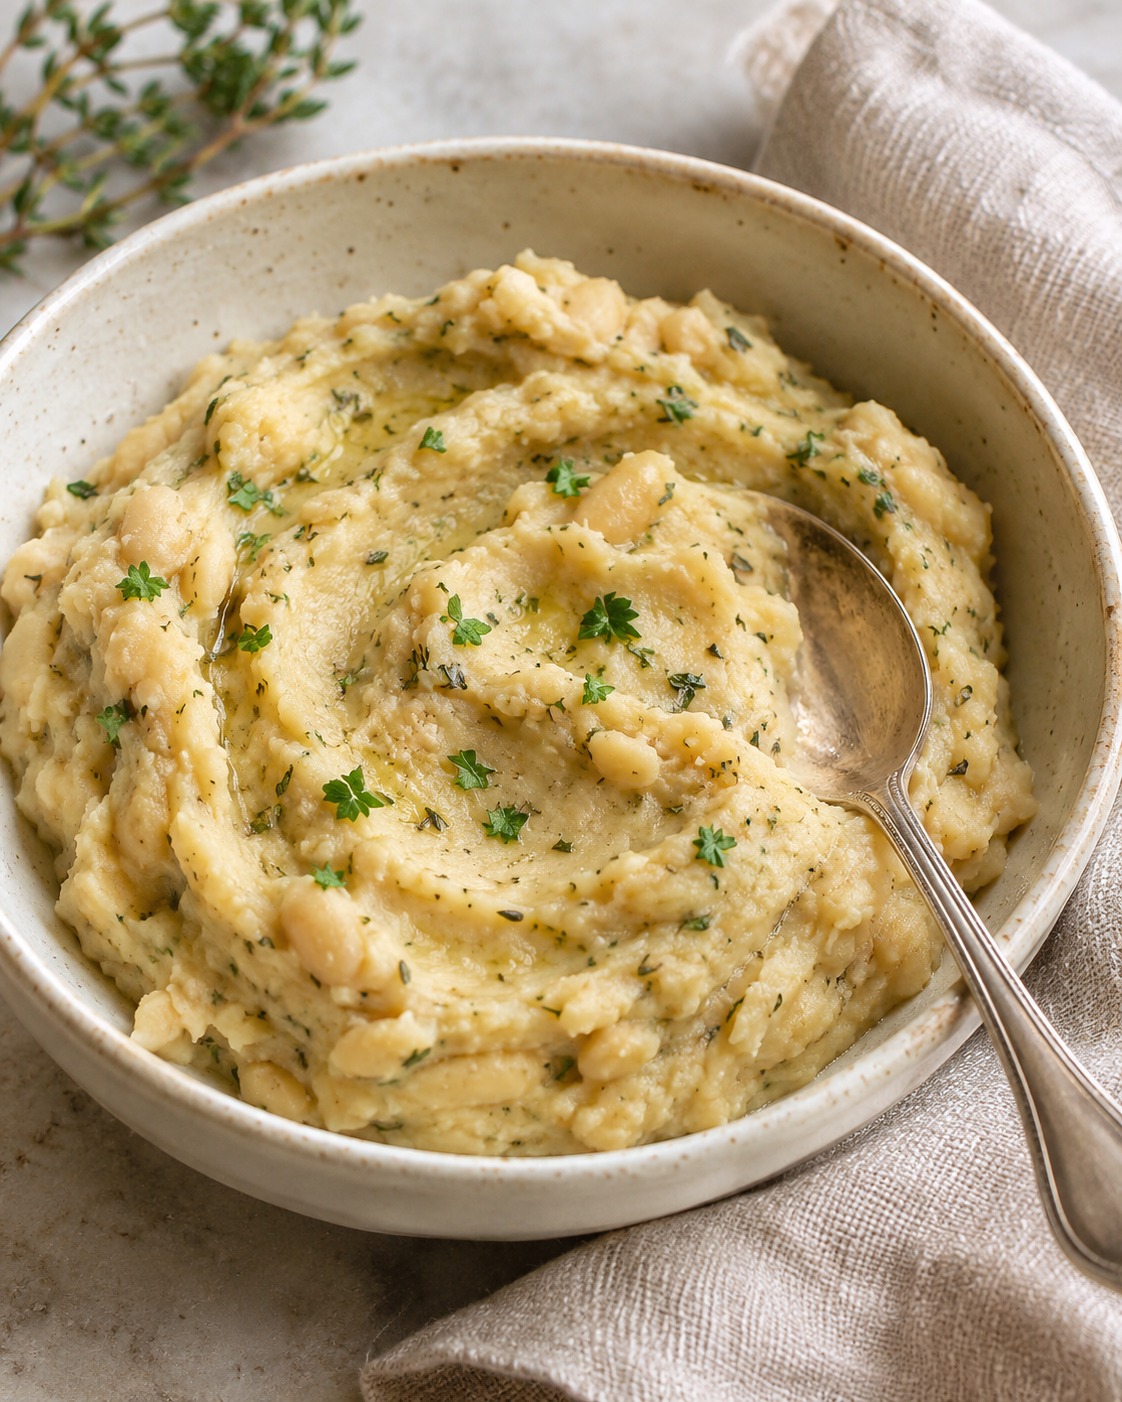
Butter beans make a creamy mash without peeling or boiling potatoes. Roasted garlic gives it a mellow savory flavor, while thyme and finely chopped rosemary add little flecks of green.
This version keeps a little texture and uses broth to loosen the beans before mashing. The optional butter adds richness, but olive oil alone works for a dairy-free side.
Before you begin
You will need a small oven-safe dish, foil, a medium saucepan, colander, potato masher and measuring spoons. An immersion blender suitable for hot food is optional; a masher is enough for the baseline recipe.
Makes 4 generous or 6 small side servings. Estimated prep: 10 minutes. Cooking: 55 minutes, including roasting and warming. Cooling the garlic: 5 minutes. Total: about 1 hour 10 minutes. Garlic size and oven performance can change the roasting time.
Gather your ingredients
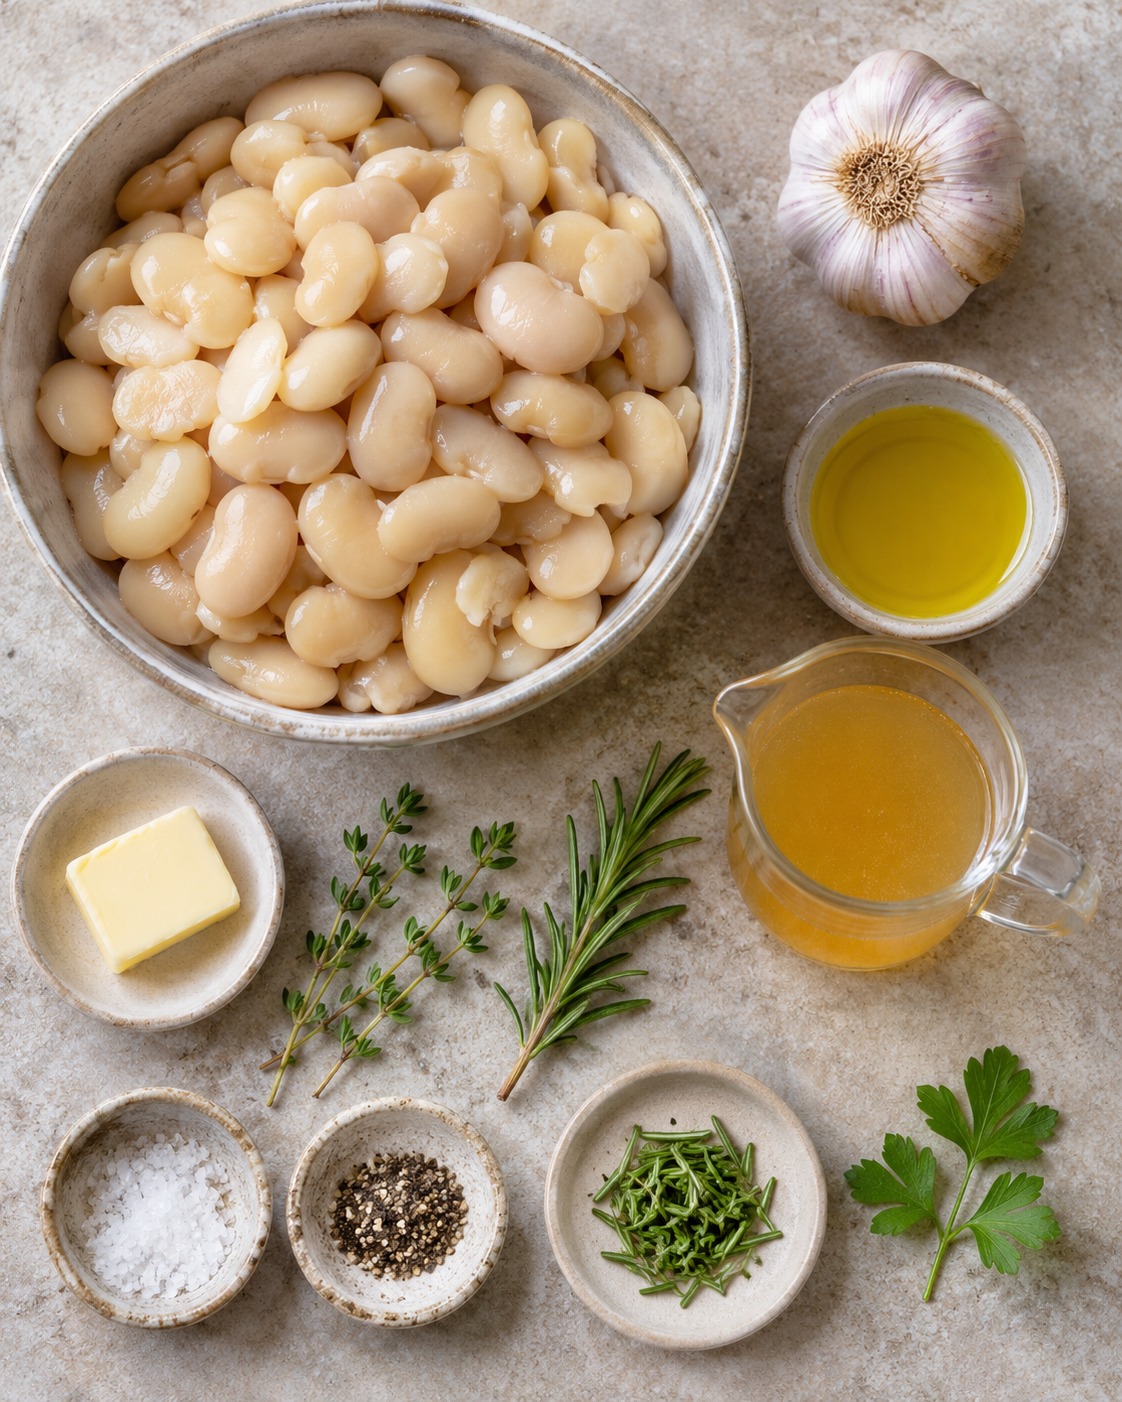
- 2 cans (15 ounces each) butter beans, drained and rinsed
- 1 medium whole garlic bulb
- 2 tablespoons plus 1 teaspoon olive oil, divided, plus an optional 1 teaspoon for serving
- Optional: 1 tablespoon unsalted butter
- 1/4 cup (60 ml) low-sodium vegetable broth, plus up to 1/4 cup more as needed
- 1 teaspoon fresh thyme leaves
- 1 teaspoon fresh rosemary, finely chopped
- 1/4 teaspoon fine salt, plus more only if needed
- 1/8 teaspoon ground black pepper
- Optional: 1 tablespoon chopped fresh parsley, for serving
Let’s make it
- Heat the oven to 400°F (200°C). Trim about 1/4 inch from the top of the garlic bulb to expose the cloves, keeping the bulb together. Place on a square of foil, drizzle the exposed cloves with 1 teaspoon olive oil and wrap loosely but securely. Set the packet in a small oven-safe dish.
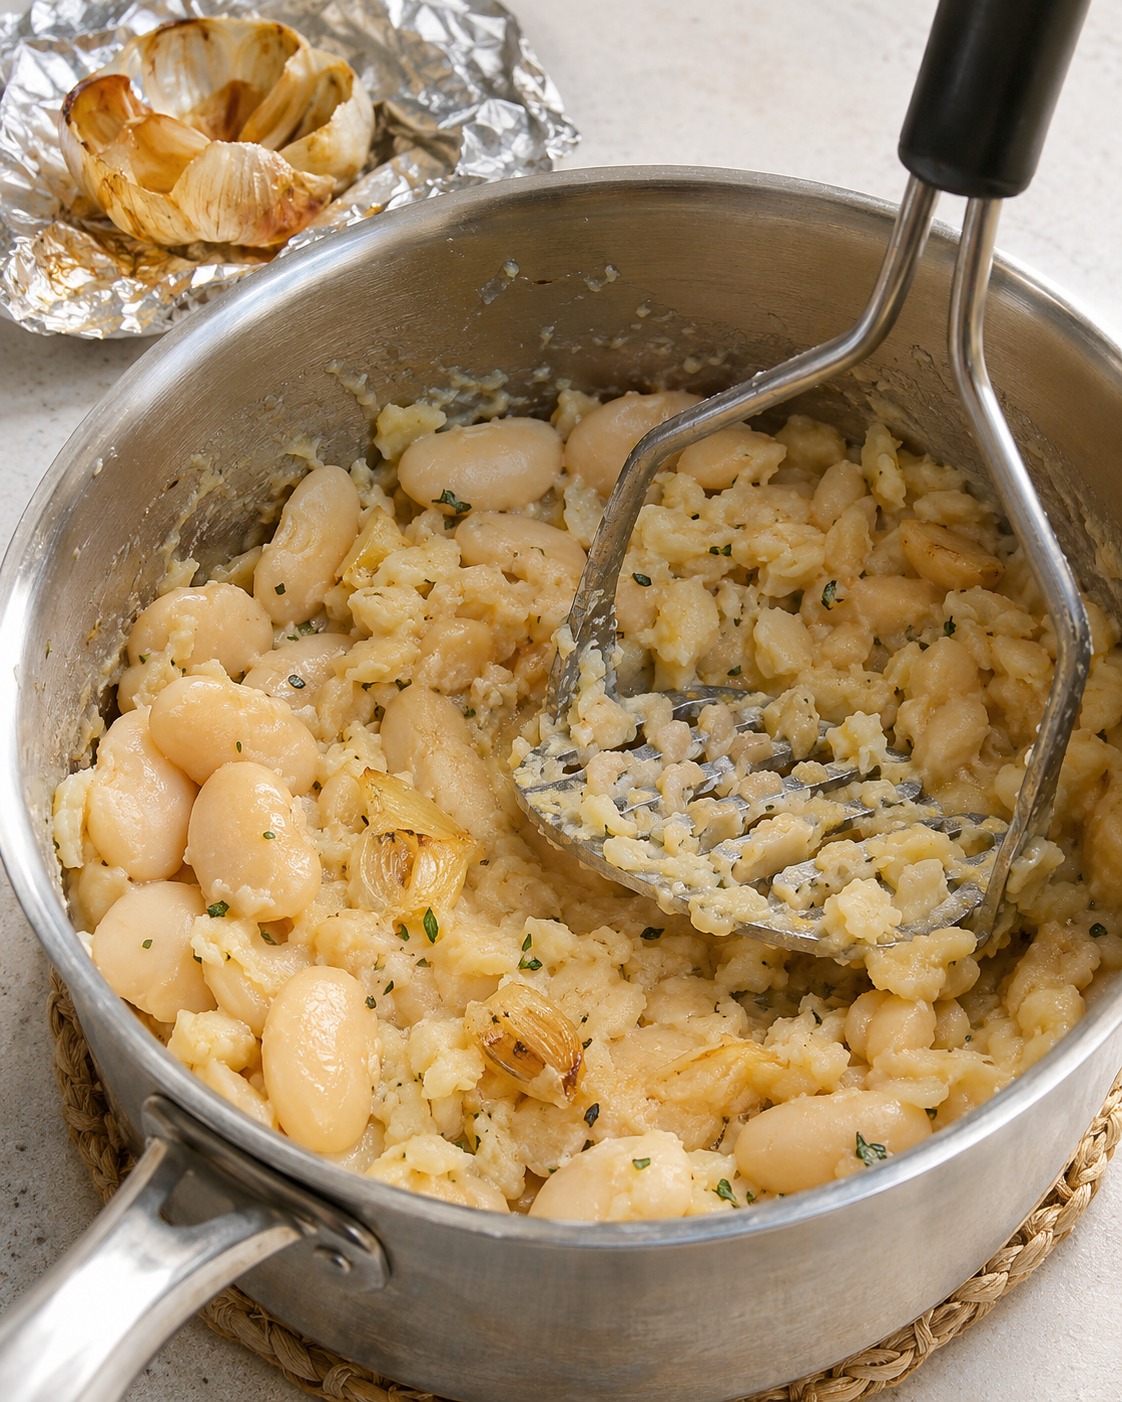
- Roast for approximately 35–45 minutes, until the cloves are very soft when pressed and lightly golden. Larger bulbs may need longer. Open the foil carefully to release steam and let cool for about 5 minutes, until safe to handle. Squeeze the soft cloves out of their skins; discard the skins.
- Put the remaining 2 tablespoons olive oil, optional butter, drained beans, roasted garlic, thyme, rosemary and 1/4 cup broth in a medium saucepan. Warm over medium-low heat, stirring often, for about 5–8 minutes, until the beans are hot and soft enough to mash. Do not fry the beans dry.
- Take the pan off the heat and mash with a potato masher until creamy but slightly textured. Add the extra broth 1 tablespoon at a time only as needed. For a smoother result, use an immersion blender in a suitable deep container, keeping its blade submerged and following its hot-food instructions. Never run the blade above the mixture.
- Stir in the salt and pepper, then taste and adjust salt only if needed. Return to low heat briefly if the mash has cooled, stirring and adding a little of the measured extra broth if it thickens. Spoon into a bowl and serve warm, with the optional parsley and teaspoon of olive oil.
A few crafty little tips
- Drain and rinse the canned beans; the recipe starts with canned cooked beans, not dried raw beans.
- Wait for the garlic cloves to become completely soft. Browned tips with firm centers are not ready.
- Add broth gradually. The mash thickens as it stands, and different brands of beans absorb different amounts.
- Finely chop rosemary so the finished mash does not have large woody needles.
- Keep the pan off the heat while mashing or blending to reduce splashing.
Make it your own
Skip the optional butter for a dairy-free version and check that the broth suits your dietary needs. For dried herbs, use 1/4 teaspoon dried thyme and 1/4 teaspoon dried rosemary, crushing the rosemary finely, in place of the fresh herbs. These are optional variations, not extra ingredients required for the base recipe.
Store it for later
Refrigerate promptly in shallow covered containers at 40°F (4°C) or below, within 2 hours or within 1 hour if the temperature is above 90°F (32°C). Use the mash within 3–4 days. If the roasted garlic was made earlier, count that earlier storage too. See USDA leftover guidance.
Reheat in a saucepan over low to medium-low heat, stirring and adding a little broth or water if needed, until the center reaches 165°F (74°C). Freeze portions promptly for longer storage, thaw in the refrigerator and stir well during reheating; the texture may need loosening. See USDA reheating guidance.
Quick questions
Can I roast the garlic ahead?
Yes, but refrigerate it promptly in a covered container and use within 4 days, or freeze it. Garlic with oil is not shelf-stable: never leave a jar of homemade garlic oil on the counter. Roasting does not make that storage method safe. Follow National Center for Home Food Preservation guidance for garlic in oil.
Is it as smooth as mashed potatoes?
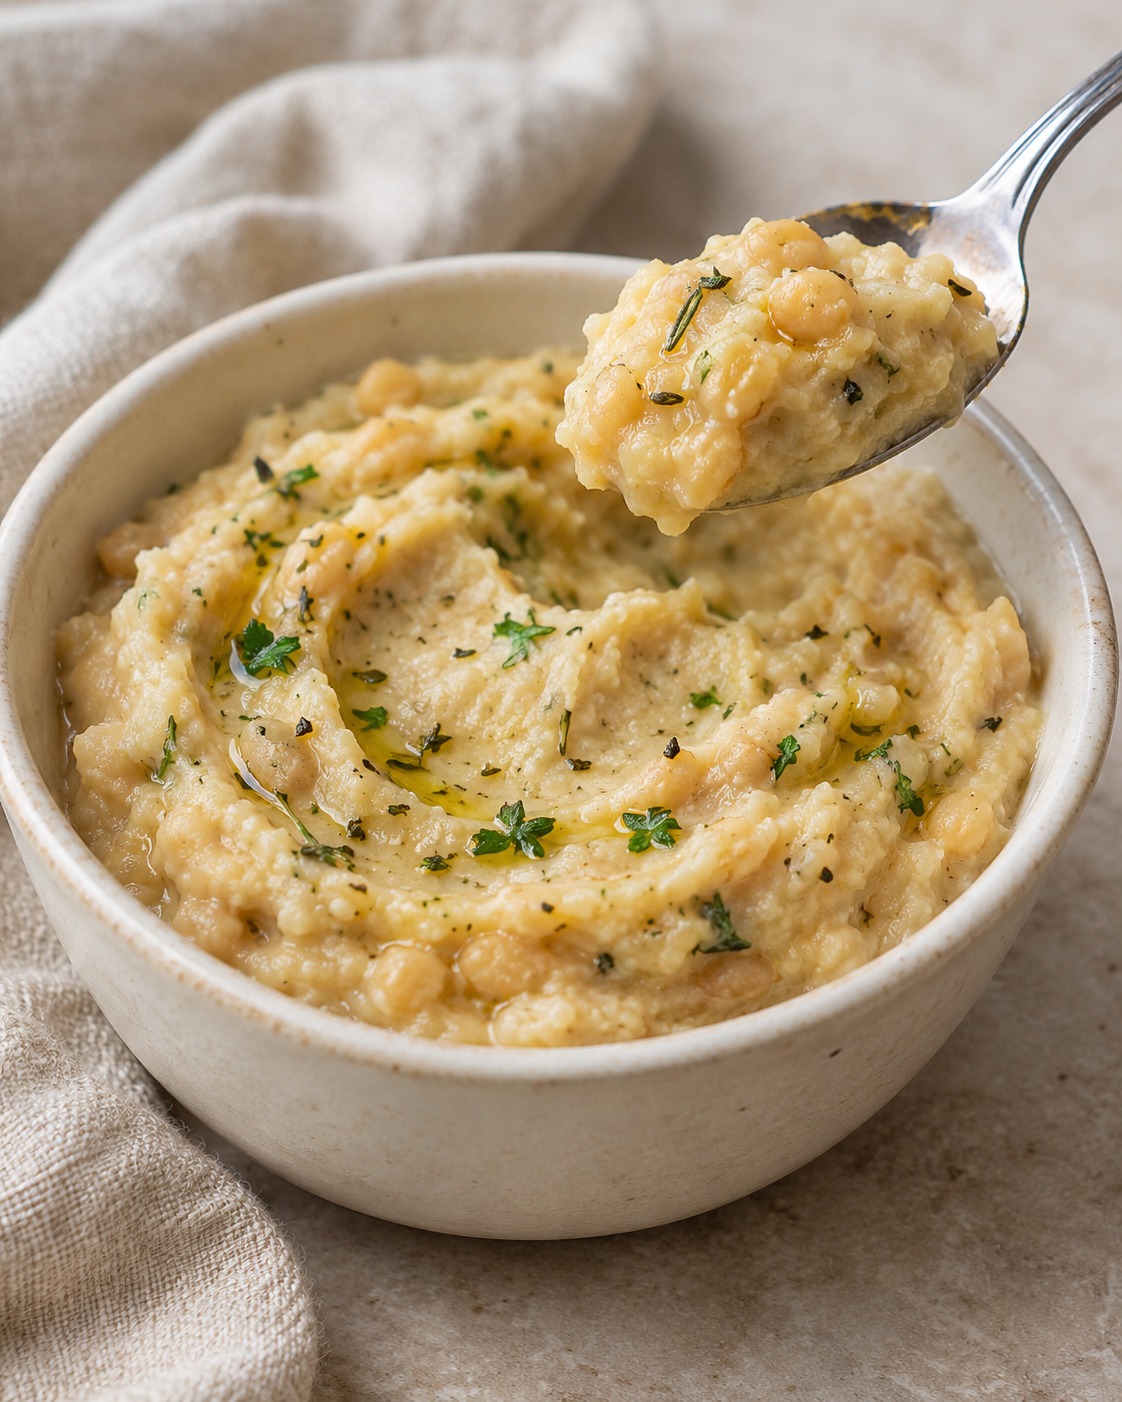
A potato masher leaves some bean texture. An immersion blender can make it smoother, but canned bean skins and the amount of broth affect the result. Do not add lots of liquid just to force a perfectly smooth puree.
Can I use dried beans?
Cook dried butter beans fully according to their package directions first. This recipe and timing use two drained 15-ounce cans; dried beans are not a direct timed substitution.
Serve warm alongside a roast, grilled vegetables or a savory skillet supper.
Roasted Garlic & Herb Butter Bean Mash
Warm butter beans mashed with soft roasted garlic, olive oil, thyme and rosemary for a creamy, rustic side dish.
Ingredients
- 2 cans (15 ounces each) butter beans, drained and rinsed
- 1 medium whole garlic bulb
- 2 tablespoons plus 1 teaspoon olive oil, divided, plus an optional 1 teaspoon for serving
- Optional: 1 tablespoon unsalted butter
- 1/4 cup (60 ml) low-sodium vegetable broth, plus up to 1/4 cup more as needed
- 1 teaspoon fresh thyme leaves
- 1 teaspoon fresh rosemary, finely chopped
- 1/4 teaspoon fine salt, plus more only if needed
- 1/8 teaspoon ground black pepper
- Optional: 1 tablespoon chopped fresh parsley, for serving
Instructions
- Heat the oven to 400°F (200°C). Trim about 1/4 inch from the top of the garlic bulb to expose the cloves, keeping the bulb together. Place on a square of foil, drizzle the exposed cloves with 1 teaspoon olive oil and wrap loosely but securely. Set the packet in a small oven-safe dish.
- Roast for approximately 35–45 minutes, until the cloves are very soft when pressed and lightly golden. Larger bulbs may need longer. Open the foil carefully to release steam and let cool for about 5 minutes, until safe to handle. Squeeze the soft cloves out of their skins; discard the skins.
- Put the remaining 2 tablespoons olive oil, optional butter, drained beans, roasted garlic, thyme, rosemary and 1/4 cup broth in a medium saucepan. Warm over medium-low heat, stirring often, for about 5–8 minutes, until the beans are hot and soft enough to mash. Do not fry the beans dry.
- Take the pan off the heat and mash with a potato masher until creamy but slightly textured. Add the extra broth 1 tablespoon at a time only as needed. For a smoother result, use an immersion blender in a suitable deep container, keeping its blade submerged and following its hot-food instructions. Never run the blade above the mixture.
- Stir in the salt and pepper, then taste and adjust salt only if needed. Return to low heat briefly if the mash has cooled, stirring and adding a little of the measured extra broth if it thickens. Spoon into a bowl and serve warm, with the optional parsley and teaspoon of olive oil.
Notes
Makes 4 generous or 6 small side servings. Estimated prep: 10 minutes. Cooking: 55 minutes, including roasting and warming. Cooling the garlic: 5 minutes. Total: about 1 hour 10 minutes. Garlic size and oven performance can change the roasting time.
Skip the optional butter for a dairy-free version and check that the broth suits your dietary needs. For dried herbs, use 1/4 teaspoon dried thyme and 1/4 teaspoon dried rosemary, crushing the rosemary finely, in place of the fresh herbs. These are optional variations, not extra ingredients required for the base recipe.
Refrigerate promptly in shallow covered containers at 40°F (4°C) or below, within 2 hours or within 1 hour if the temperature is above 90°F (32°C). Use the mash within 3–4 days. If the roasted garlic was made earlier, count that earlier storage too. See USDA leftover guidance.
Reheat in a saucepan over low to medium-low heat, stirring and adding a little broth or water if needed, until the center reaches 165°F (74°C). Freeze portions promptly for longer storage, thaw in the refrigerator and stir well during reheating; the texture may need loosening. See USDA reheating guidance.
Can I roast the garlic ahead?
Yes, but refrigerate it promptly in a covered container and use within 4 days, or freeze it. Garlic with oil is not shelf-stable: never leave a jar of homemade garlic oil on the counter. Roasting does not make that storage method safe. Follow National Center for Home Food Preservation guidance for garlic in oil.
Is it as smooth as mashed potatoes?
A potato masher leaves some bean texture. An immersion blender can make it smoother, but canned bean skins and the amount of broth affect the result. Do not add lots of liquid just to force a perfectly smooth puree.
Can I use dried beans?
Cook dried butter beans fully according to their package directions first. This recipe and timing use two drained 15-ounce cans; dried beans are not a direct timed substitution.
Check Out Some Of Our Other Recipes / Crafts
If You Enjoyed This Recipe, Please Share!
If you loved this Roasted Garlic & Herb Butter Bean Mash, please share it with your friends and family! It’s a simple side dish that feels gourmet and is sure to impress. Share it on Pinterest, Facebook, or Instagram – and don’t forget to tag me if you make it. I’d love to see how yours turns out!